Before You Start
- You must be using at least version 2.25.2 of our Magento 2 Plugin.
- You have completed the process of migrating customer accounts to Bolt. See Customer Account Activation for a step-by-step guide.
- Contacted Bolt and requested SSO Commerce to be enabled for your account.
- Made a copy of your active theme as a backup.
- If you are upgrading SSO, instead of installing SSO for the first time, please see the section below on upgrading SSO.
Install SSO
Contact Bolt
Before you can configure Adobe / Magento 2 Commerce for SSO, Bolt must first enable the feature in our internal systems.
Reach out to your Bolt representative to turn on this feature flag. Your Bolt representative may ask you for:
- Your site url.
- A link to your Terms of Service (TOS).
- A link to your Privacy Policy.
Then, you can configure your admin account for SSO.
Configure for SSO
Step 1: Enable Bolt SSO in Magento / Adobe Account
- Log in to the M2 Admin Console.
- Navigate to Stores > Configuration > Sales > Payment Methods > Bolt.
- Enable Bolt SSO Commerce.
Step 2: Ensure All User Flows Now Use the Bolt SSO Flow
All links and buttons that previously pointed to your store login, register, and logout pages should now open the Bolt SSO login.
In the event that they do not properly point to the Bolt SSO login page, you may need to consult Bolt or a developer to resolve any issues blocking the flow.
Step 3: Configure Additional Configurations for Buttons
If you are using any custom buttons, pop-up windows or modals, or need a custom destination page after Bolt SSO login, use the additional configuration field in your Magento 2 Admin account.
- Log in to the M2 Admin Console.
- Navigate to Stores > Configuration > Sales > Payment Methods > Bolt.
- Under Additional Configuration find Additional options.
- Find
customSSOSelectorsand insert properly formatted JSON strings to configure custom buttons based on your desired selectors.
CustomSSOSelectors Example
{
  "customSSOSelectors": {
    "selector1": {},
    "selector2": {"option1": "value"},
    "selector3": {"option2": false}
  }
}
Logout Selector Option
Redirect Selector Option
Test
Work with your Bolt representative to create a testing plan that works for you.
TIP
Bolt recommends setting up a sandbox environment first before making any changes in production. Preview mode does not work for testing Bolt SSO Commerce.
- Test the Login/Register button. This action should populate the SSO Modal. Try going all the way through the login flow with your own Bolt account.
- Test any Icons or Elements with the
id=”bolt-sso-custom”attribute. This action should populate the SSO modal.
Upgrade SSO
If Bolt SSO was configured using a previous version of the plugin, disable and delete the existing SSO configuration before installing or configuring it with a newer plugin version. Follow the instructions below.
Then, we recommend
Disable Bolt SSO JS Block
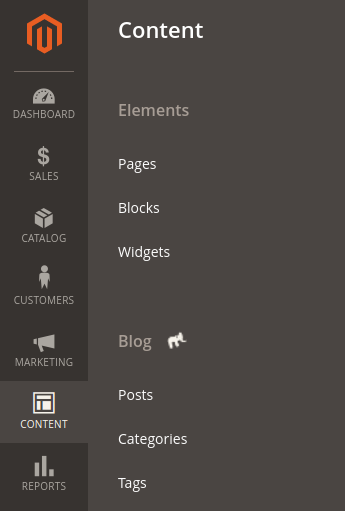
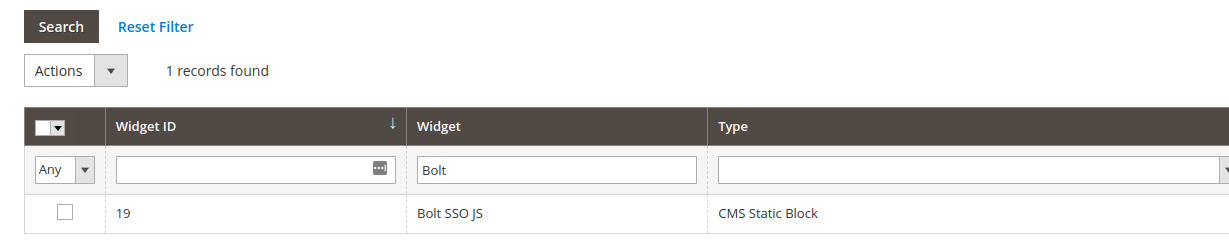
- In your Magento 2 admin account, go to Content > Blocks.
- Click Bolt SSO JS in the table.
- Click Delete in the Actions menu (found in the last column of the table).

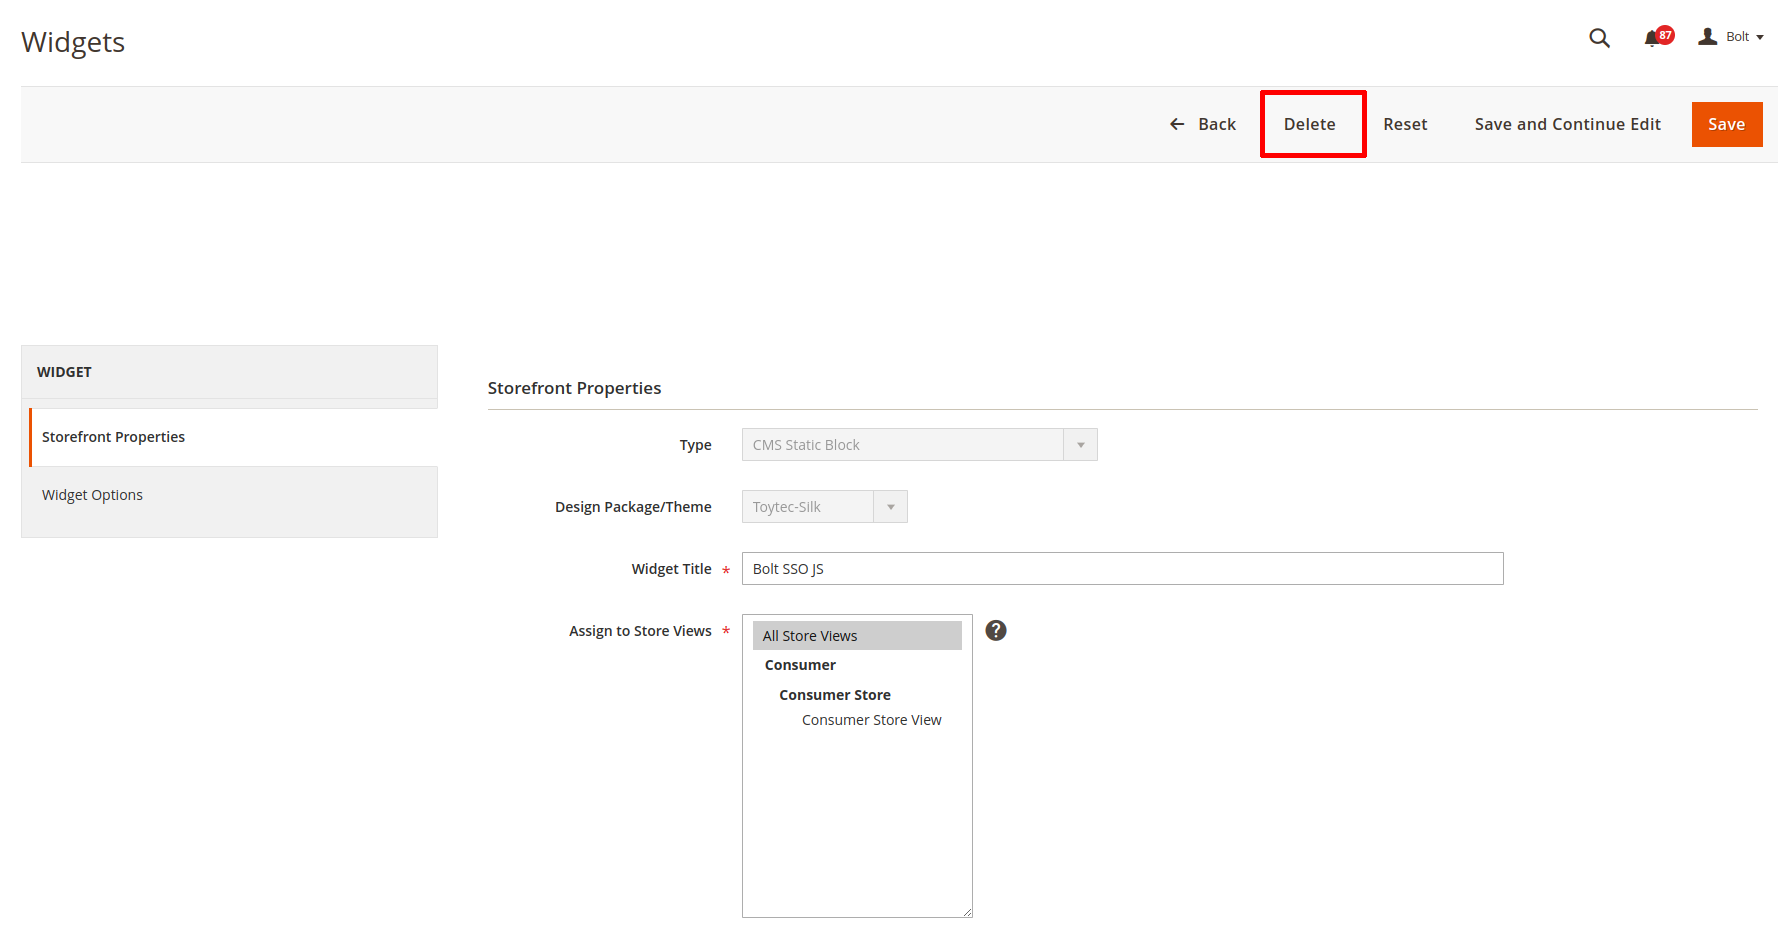
Disable Bolt SSO JS Widget
- In your Magento 2 Admin account, go to Content > Widgets.
- Click Bolt SSO JS in the table.
- Click Delete in the menu at the top.