
Bolt Merchant Dashboard Configuration
Alternative Payment Method Configuration
- Log in to Bolt Merchant Dashboard.
- Navigate to Payments > choose the relevant payment method.
- Complete the payment method configuration.
Google Analytics / Facebook Pixel Configuration
- In Bolt Merchant Dashboard, navigate to Settings > Checkout.
- Select the Analytics tab.
- Enter your Google Analytics Tracking ID or Facebook Pixel ID.
- Click Save.
Configure Bolt Theme
Bolt relies on scripts and theme updates to render the Bolt Checkout button across your storefront. Complete the steps below to ensure proper installation.
1. Prepare for Installation
First, retrieve your Bolt credentials and open the Shopify code editor:
- Log in to Bolt Merchant Dashboard.
- In the left navigation, click Administration > API.
- Copy the Publishable Key value. You need this value for further setup.
- Log in to your Shopify Admin account.
- Navigate to Online Store > Themes.
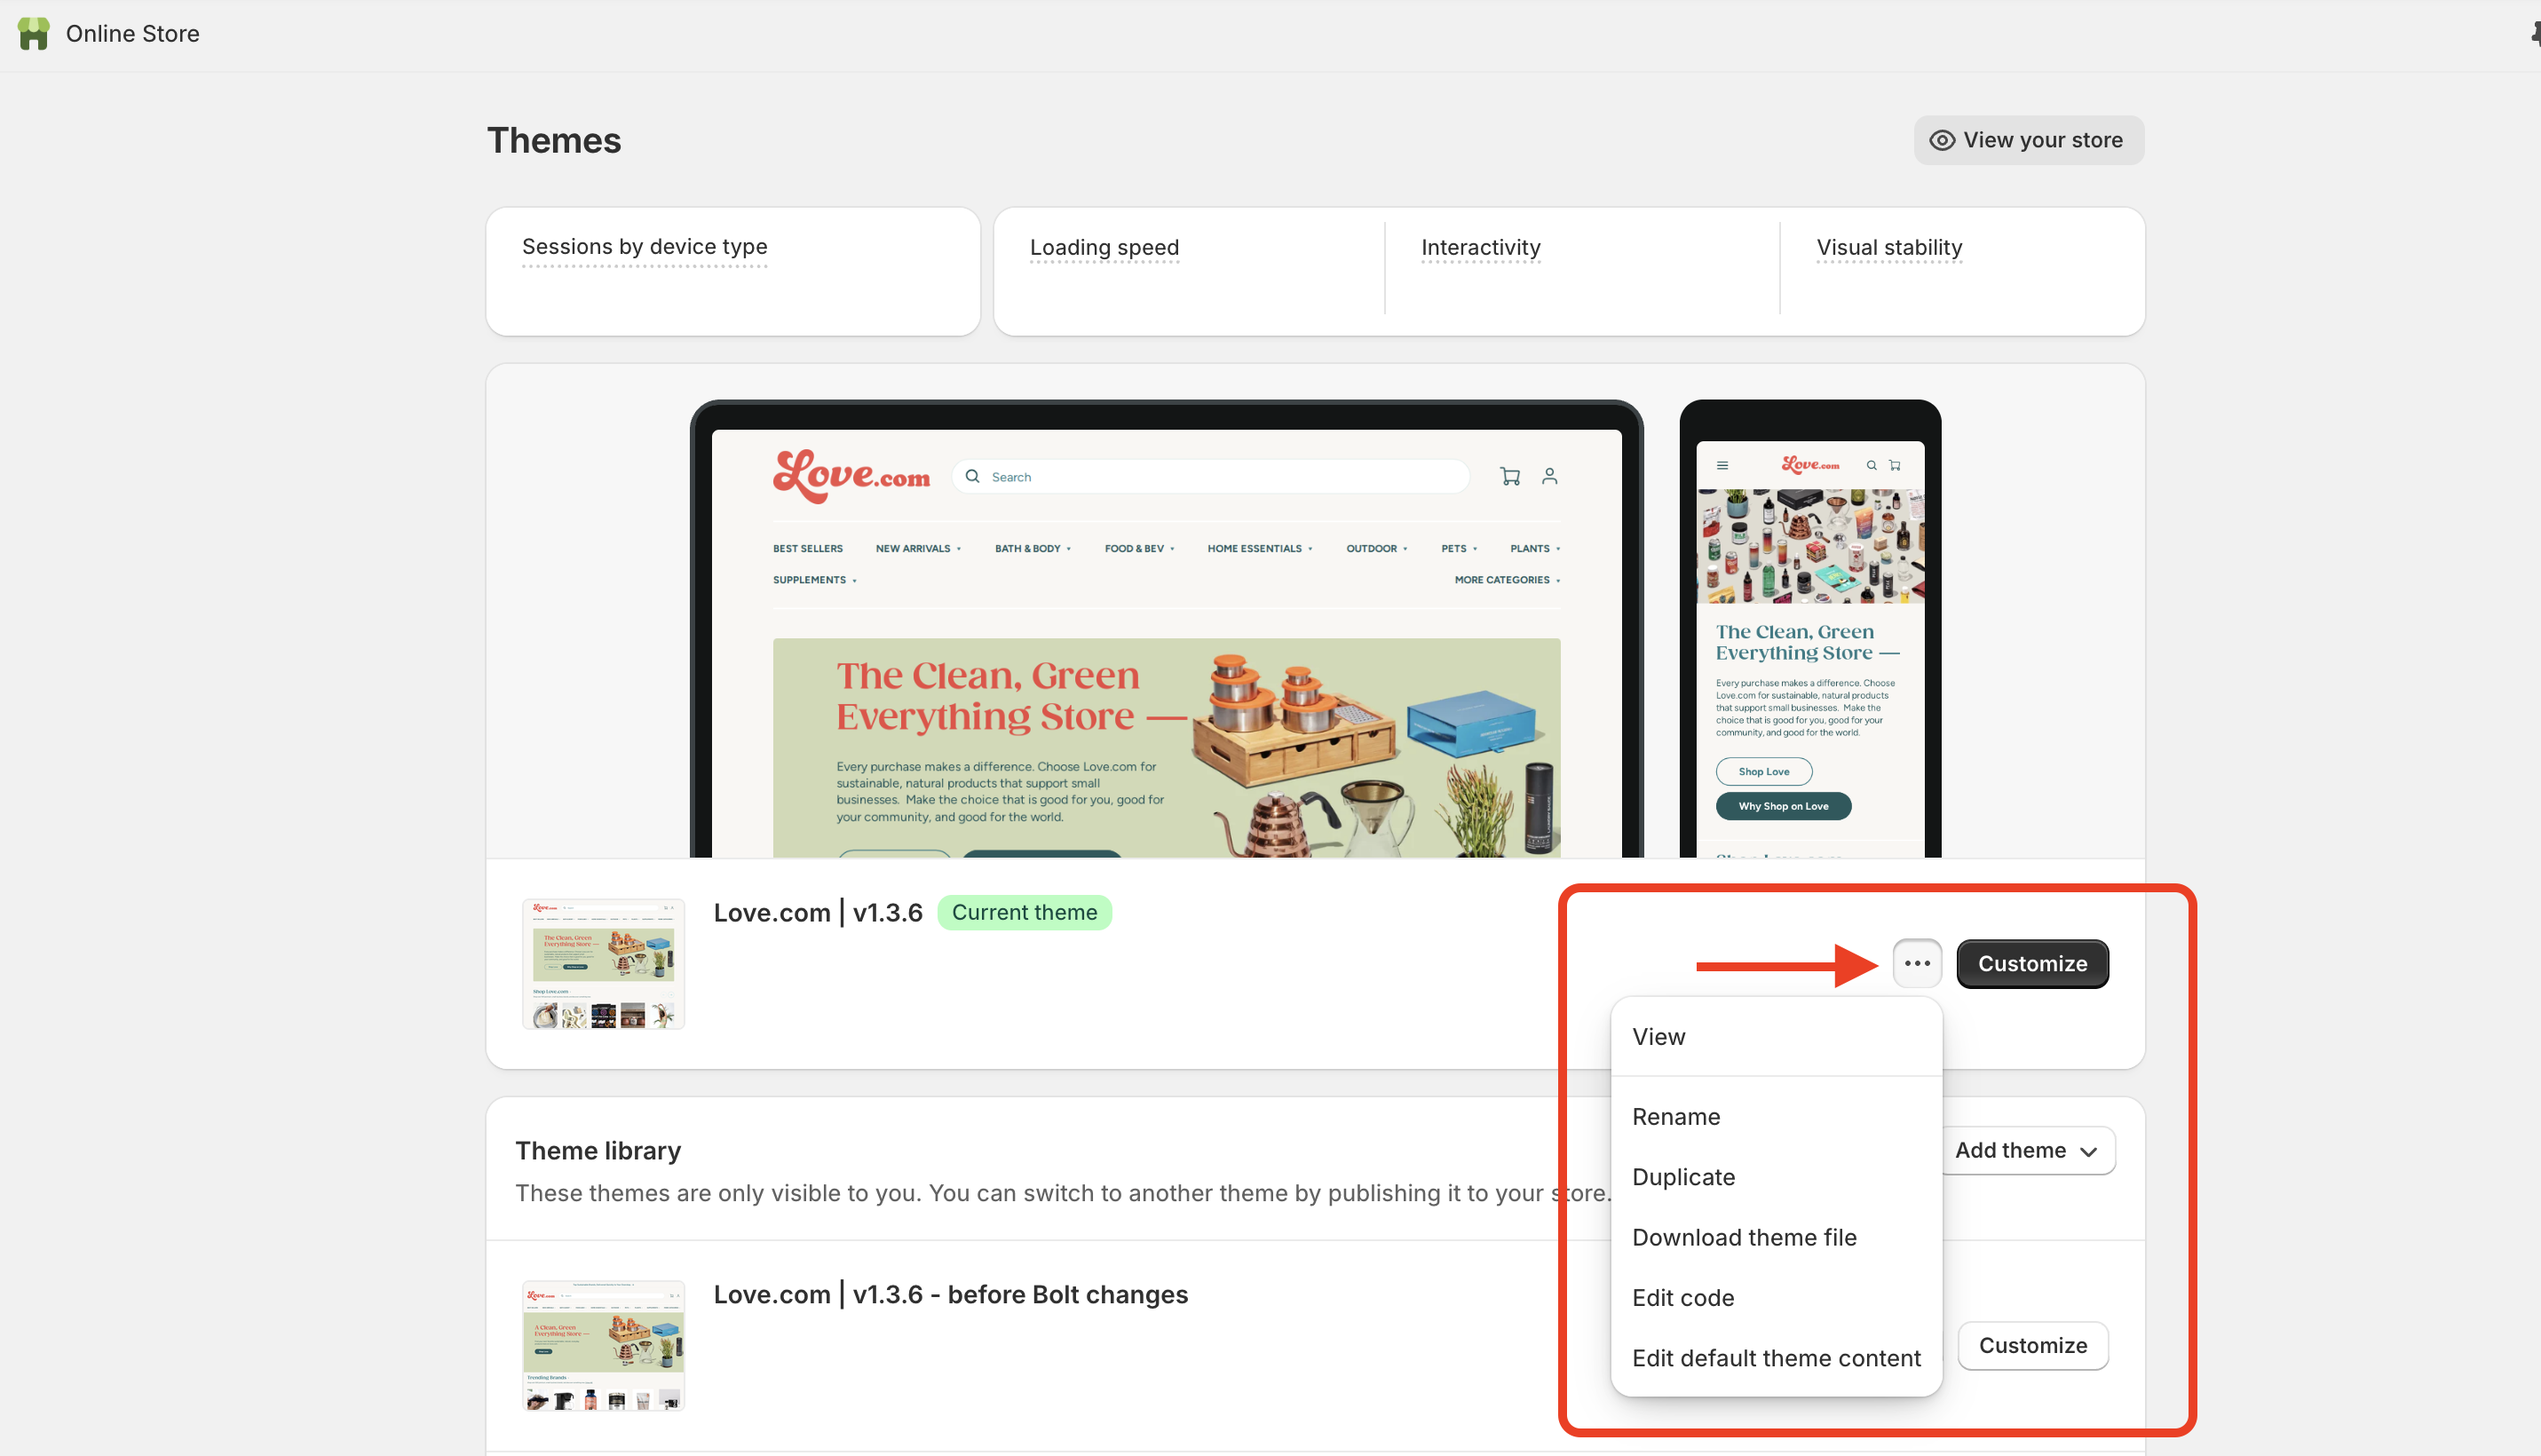
- Find your current theme, click the three dots menu, and select Edit code.
2. Add Code Snippets
Once the code editor is open, follow these steps to add the necessary assets.
Create Bolt Icon
Create a snippet to store the Bolt logo so it can be rendered inside your buttons.
- In the sidebar, under Snippets folder, click Add a new snippet.
- Name it
bolt-icon.liquidand paste the following code:
<svg width="32" height="32" viewBox="0 0 490 500" fill="none" xmlns="http://www.w3.org/2000/svg">
  <g>
    <path d="M243.398 214.363V125.272H225.6
             C210.293 179.084 180.746 238.598 145.86 285.637
             H247.669V374.728H265.467
             C280.774 320.917 310.321 261.402 345.207 214.363
             H243.398Z" />
  </g>
</svg>
Install Global Scripts
Add the core Bolt JS and CSS to your store.
- Open the layout/theme.liquid file.
- Paste the following snippet within the
<head>tag:
<!--Get your PUBLISHABLE_KEY from the Bolt Merchant Dashboard.-->
<link rel="stylesheet" href="https://c.bolt.com/shopify/bolt-button.css">
<script
  src="https://c.bolt.com/shopify/bolt-button.js?v={{ 'now' | date: '%s' }}"
  data-publishable-key="{PUBLISHABLE_KEY}"
  data-checkout-link-host="{HOST}.c.bolt.com"
  data-merchant-id="{MERCHANT_ID}"
  defer="defer">
</script>
INFO
Currently {HOST} and {MERCHANT_ID} will be provided by Bolt.
- Locate the
<body>tag in the same file and add the required data attribute:
<body data-bolt-button-always-on="true" ... >
<!--Change this value to false if you need to temporarily disable the Bolt button.-->

3. Add Bolt Checkout Buttons
Place the Bolt Checkout button in your cart drawer and on the cart page. Look for the class="cart__ctas" in the files below to find the optimal placement.
Cart Drawer Snippet
File: cart-drawer.liquid
<button data-bolt-buy-mode="cart-drawer" class="bolt-buy-button button button--full-width button--large">
  {% render 'bolt-icon' %}
  <span>Bolt Checkout</span>
</button>
Main Cart Page Snippet
File: main-cart-footer.liquid
<button data-bolt-buy-mode="cart" class="bolt-buy-button button button--full-width button--large cart__checkout-button">
  {% render 'bolt-icon' %}
  <span>Bolt Checkout</span>
</button>
Product Page Checkout Button
You can add the product page checkout button via the Visual Theme Editor:
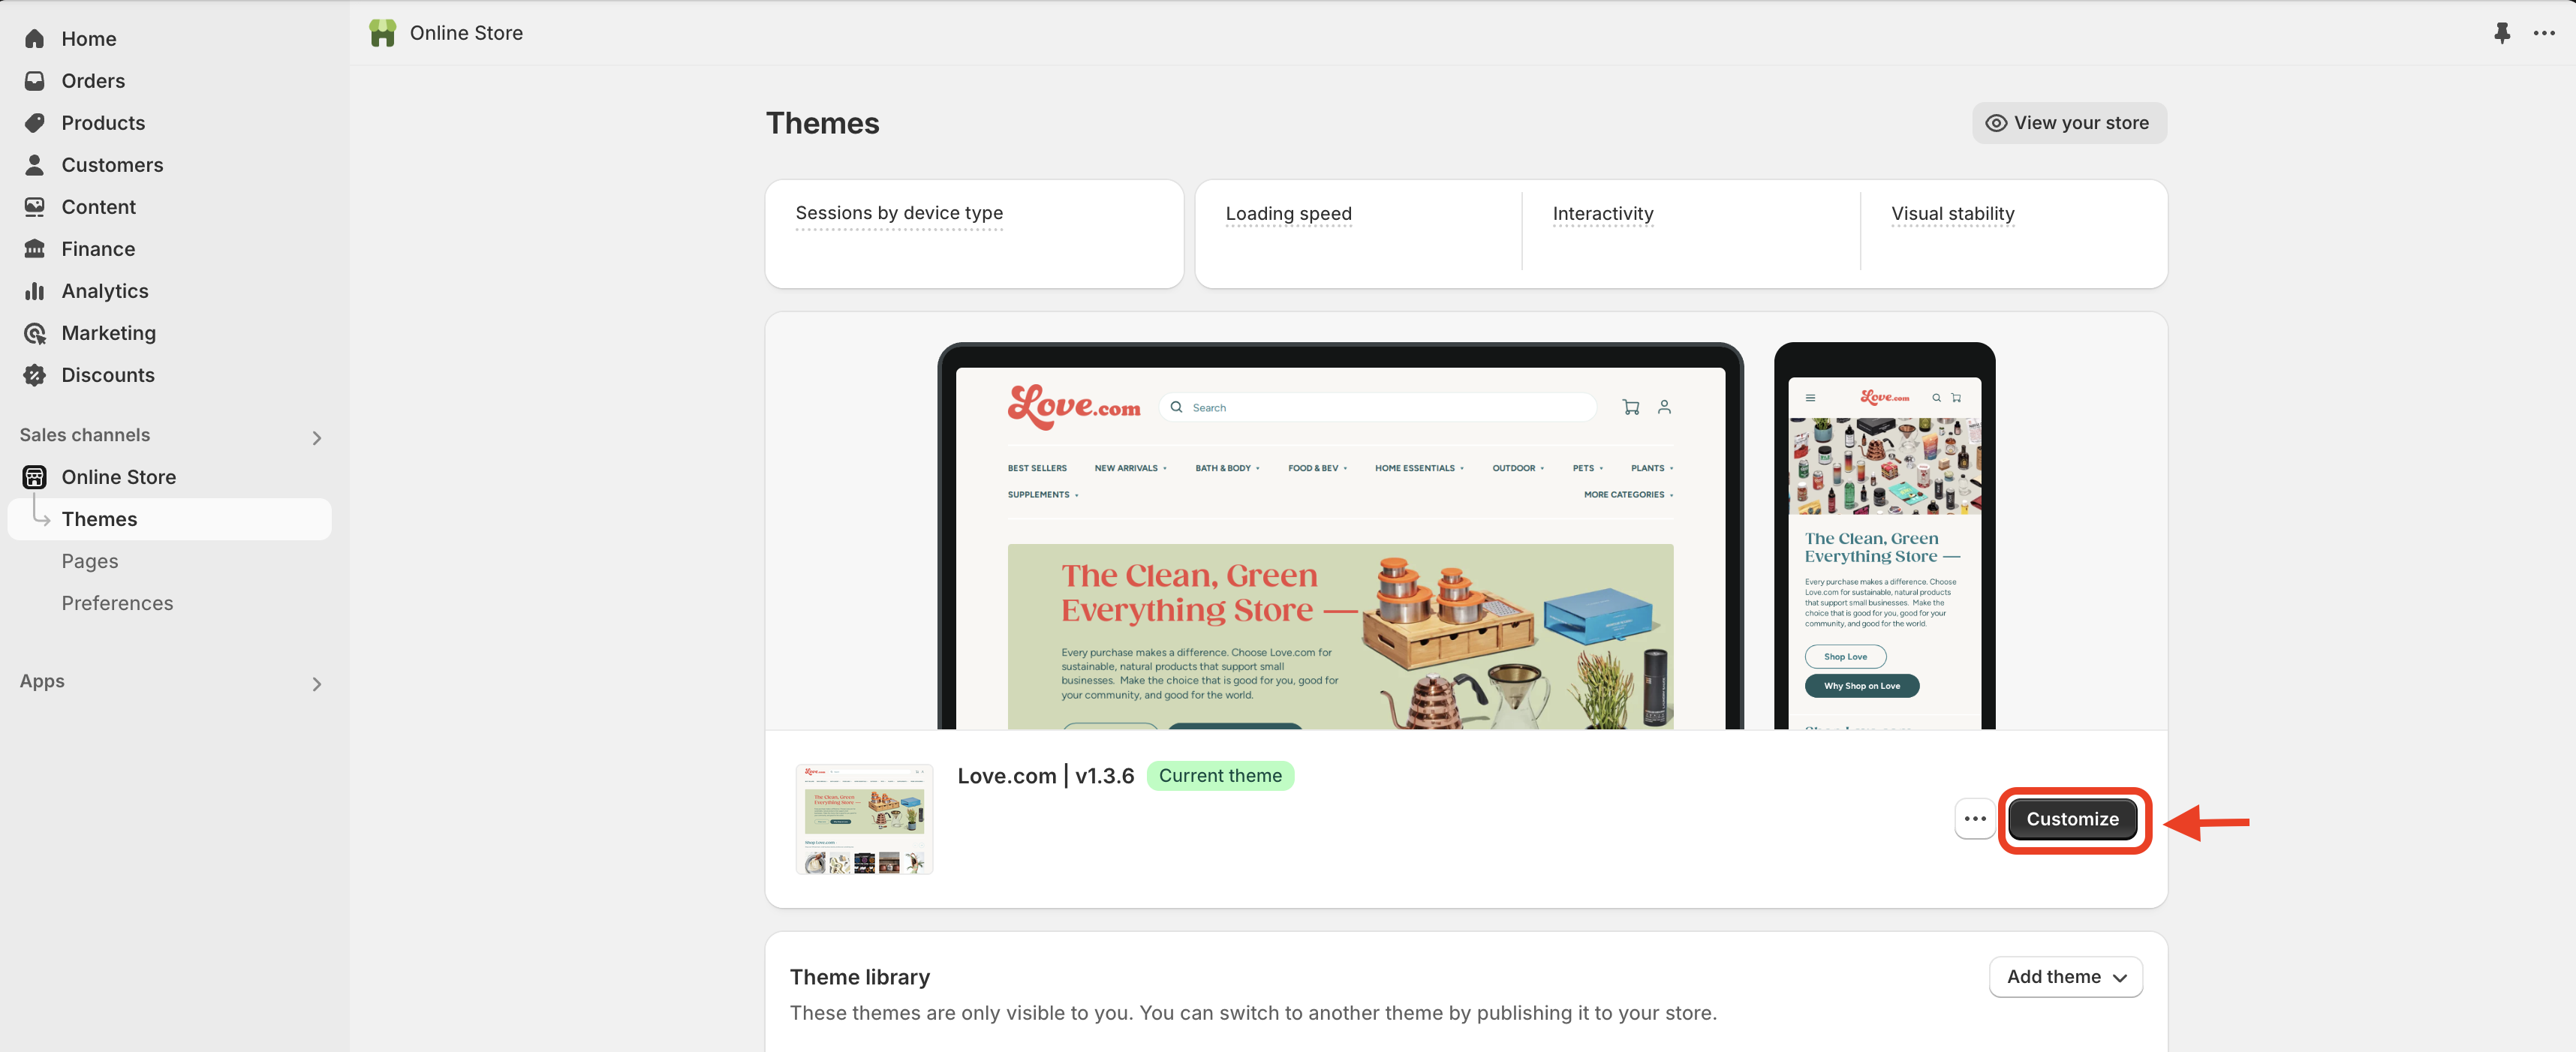
- Go to Themes > Customize.
- From the top navigation dropdown, select Products > Default product.
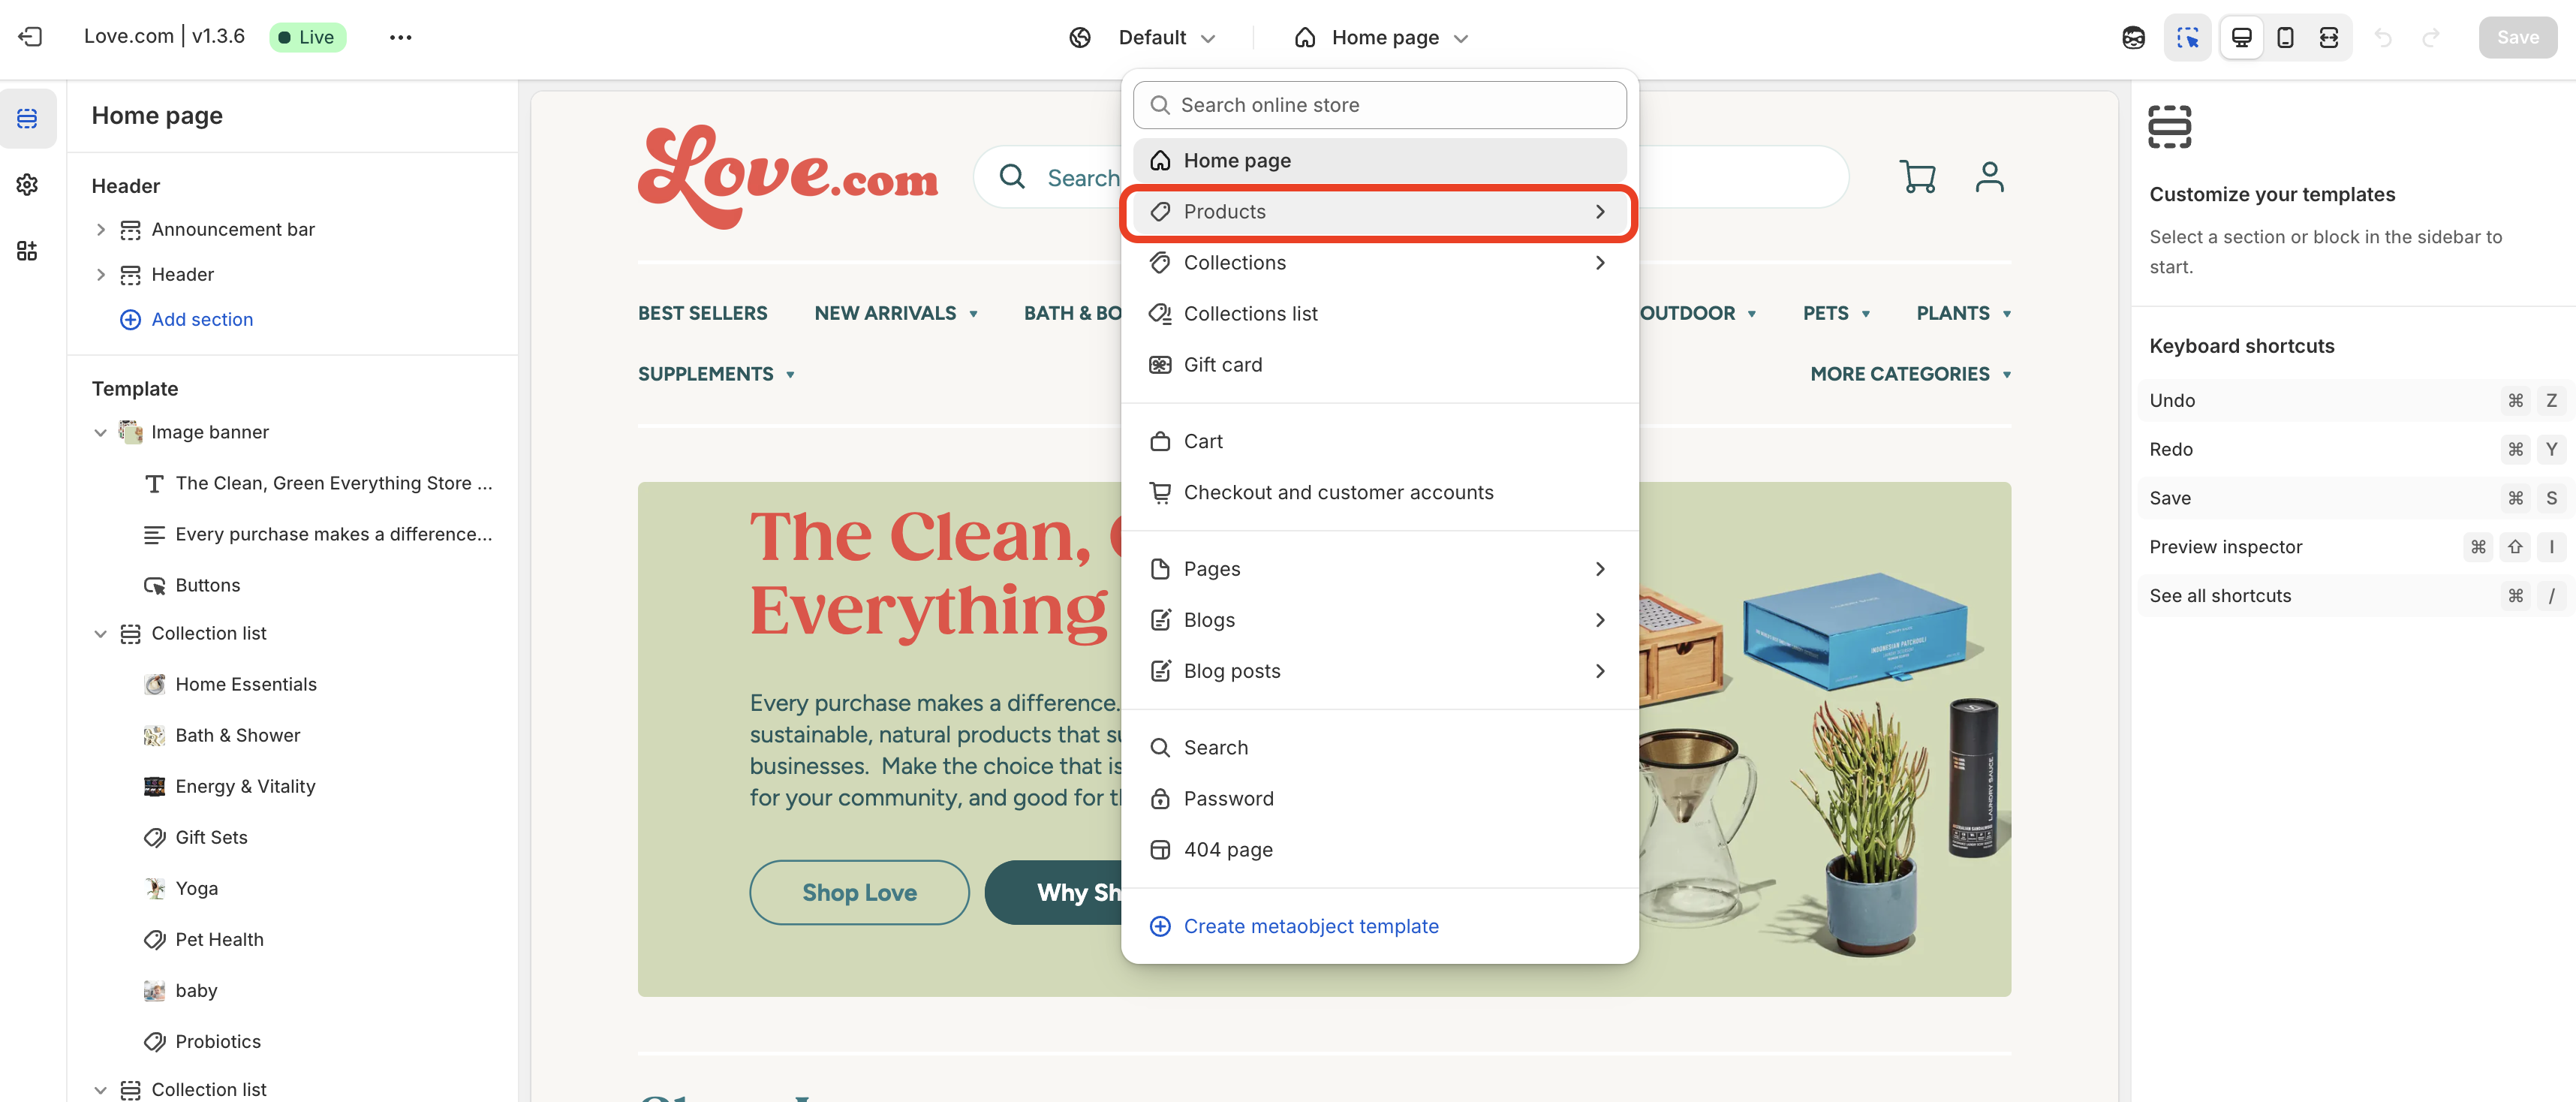
- In the left navigation, go to Template > Product information.
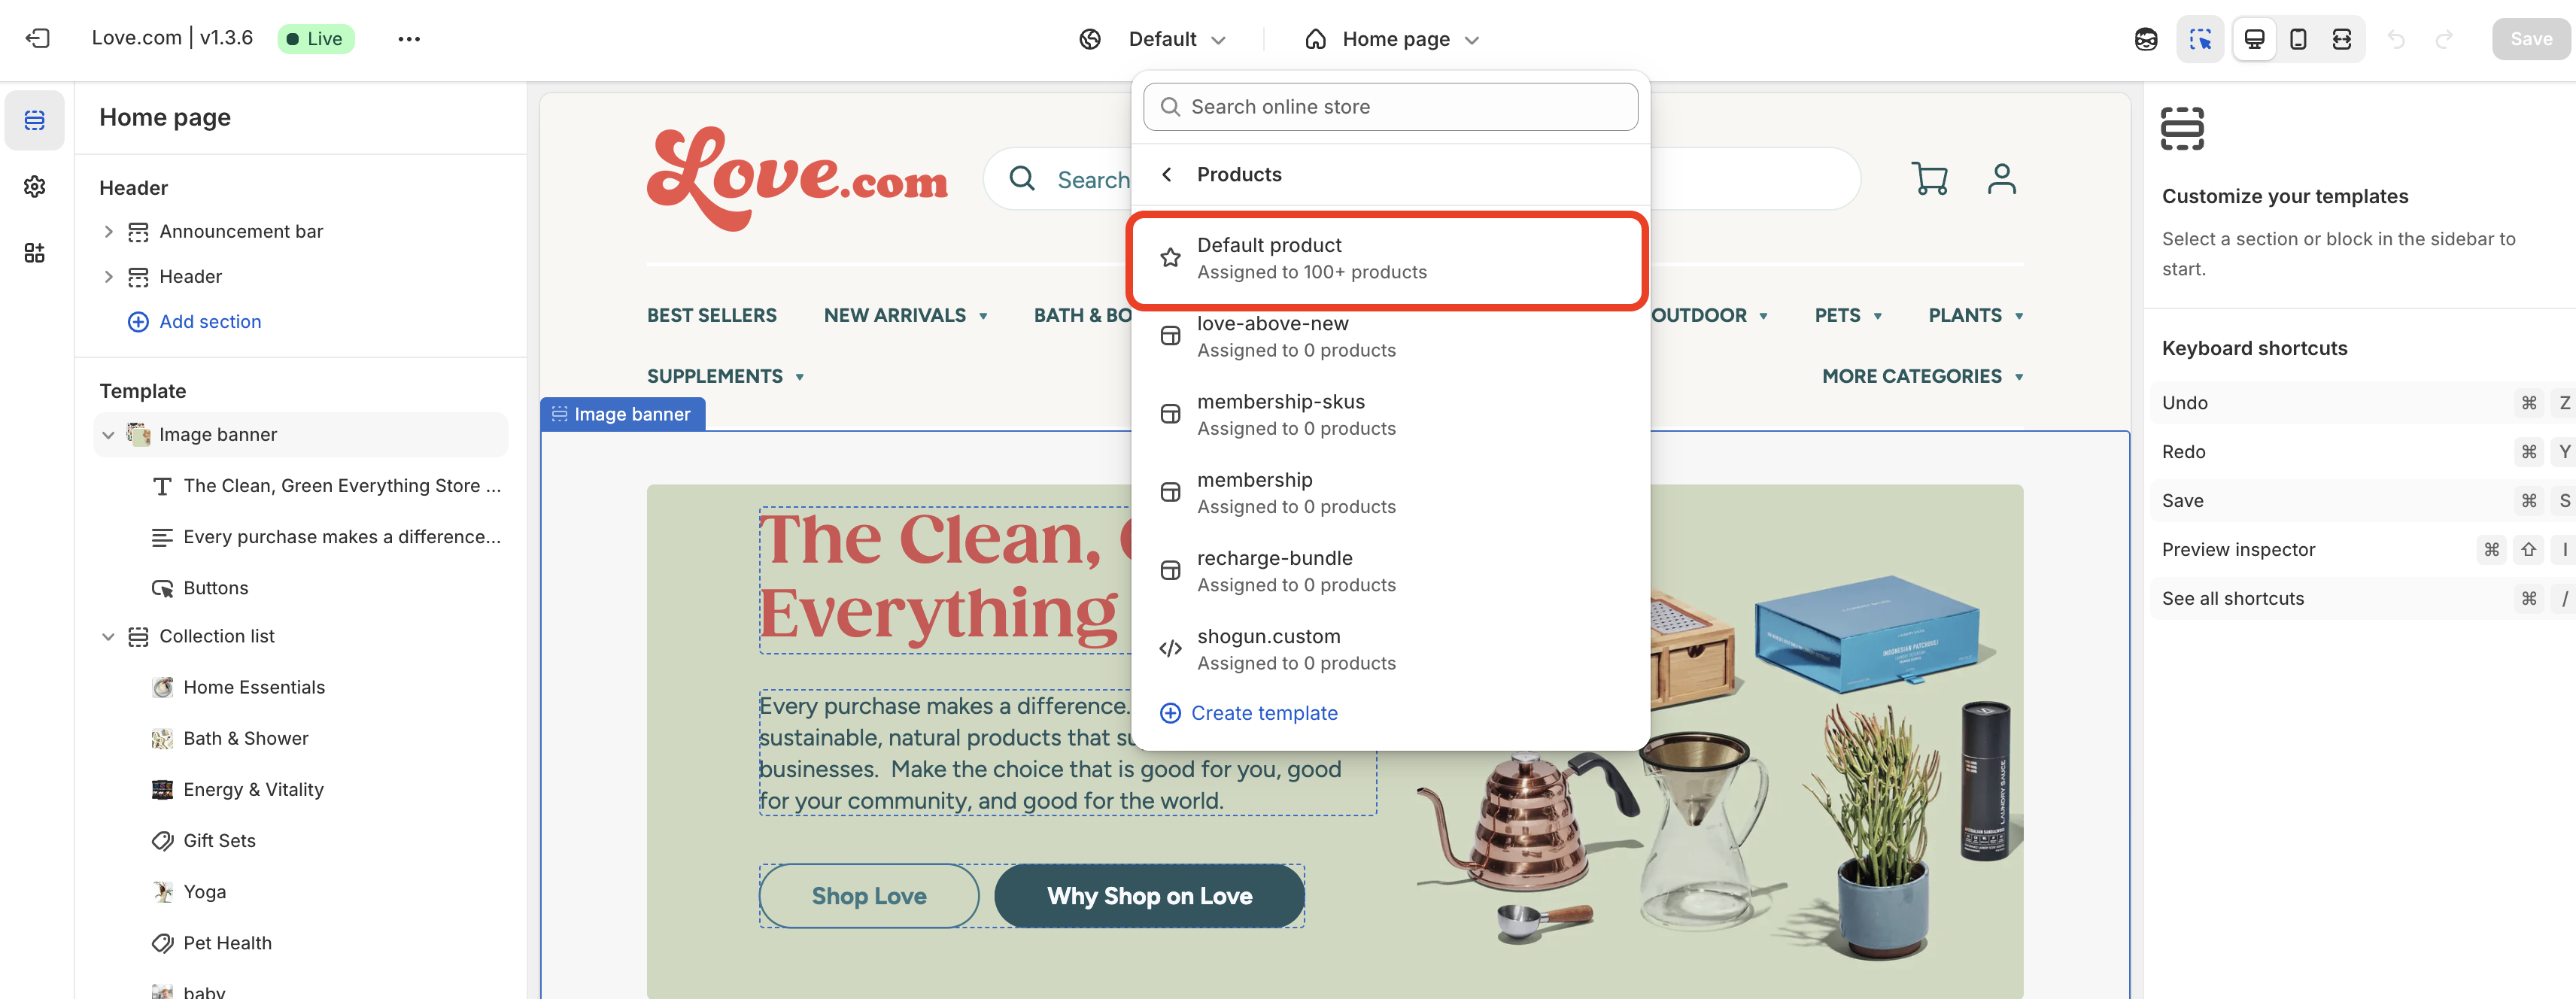
- Click Add block (under Buy buttons) and select Custom Liquid.
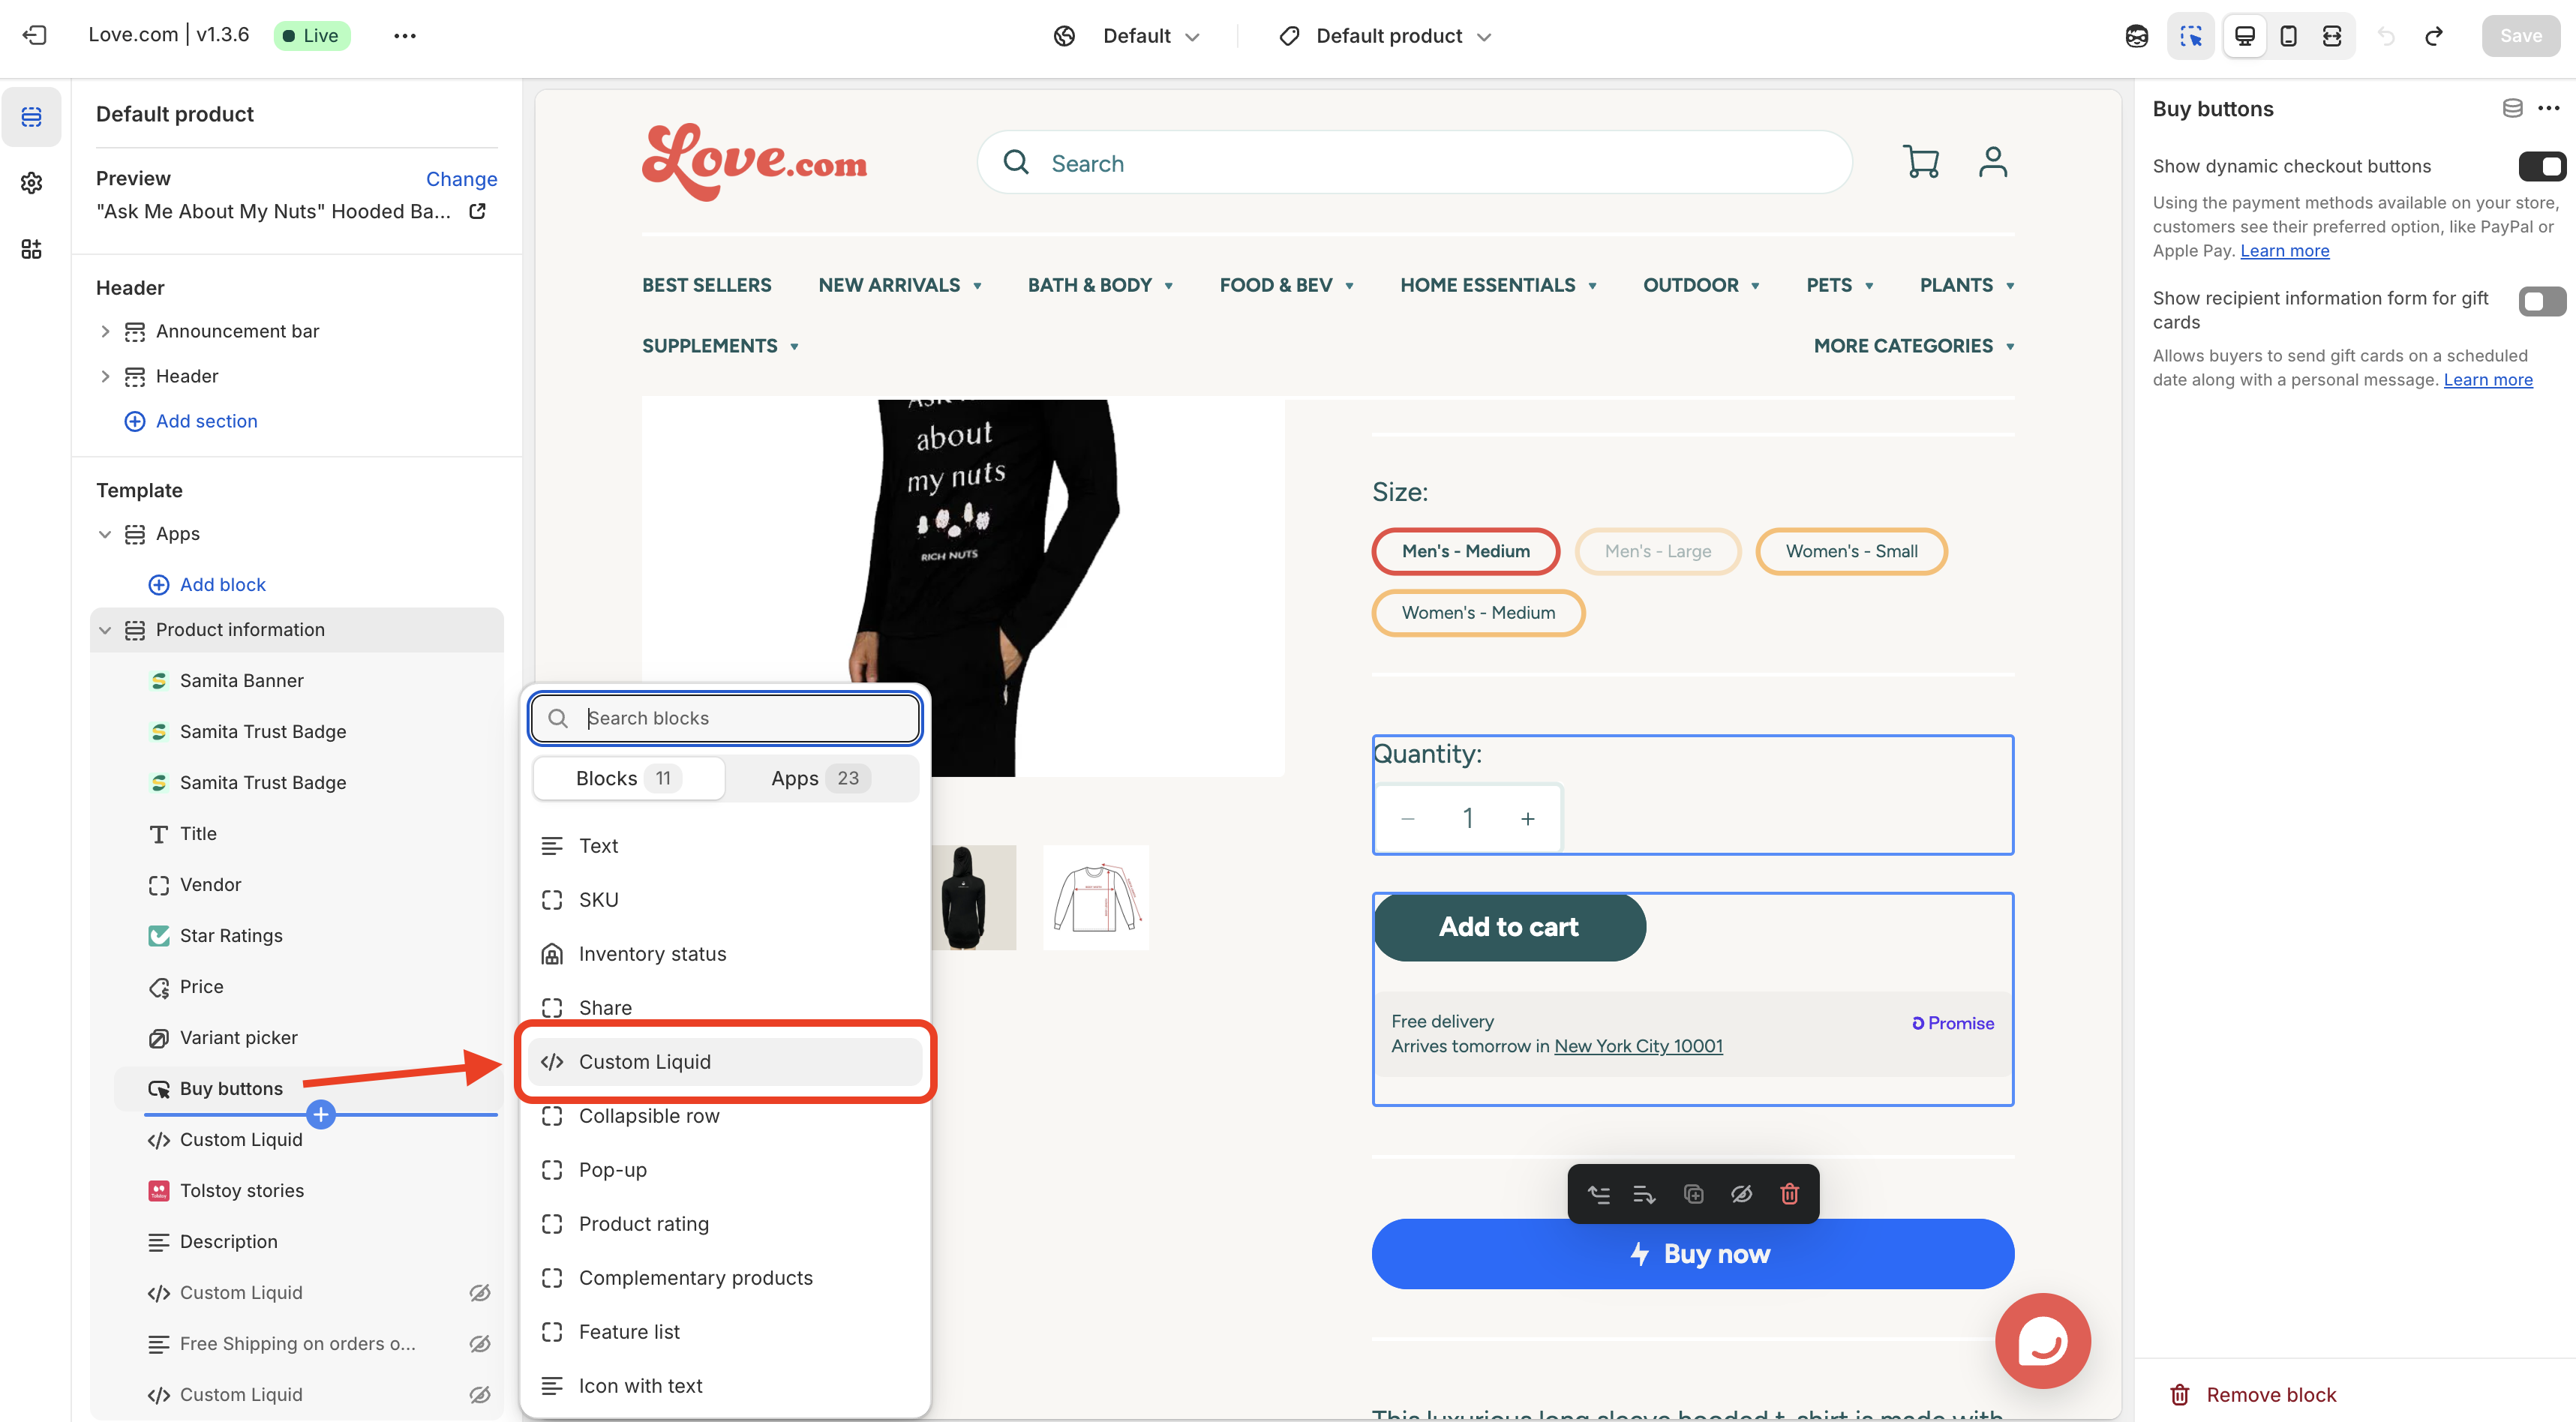
- Paste the following snippet into the Custom Liquid input field on the right:
<div class="product-form__input">
 <button data-bolt-buy-mode="buy-now" class="bolt-buy-button button button--full-width button--large">
   {% render 'bolt-icon' %}
   <span>Bolt Checkout</span>
 </button>
</div>
Test your website
- Ensure the Bolt button is visible on all cart pages
- Ensure Bolt modal works properly and orders are created and flowing correctly
- Place a test order by completing the Checkout
- Check Back office order statuses