Alternative Payment Method Setup
- Log into the Bolt Merchant Dashboard.
INFO
You must be an administrator of your merchant account to complete this setup.
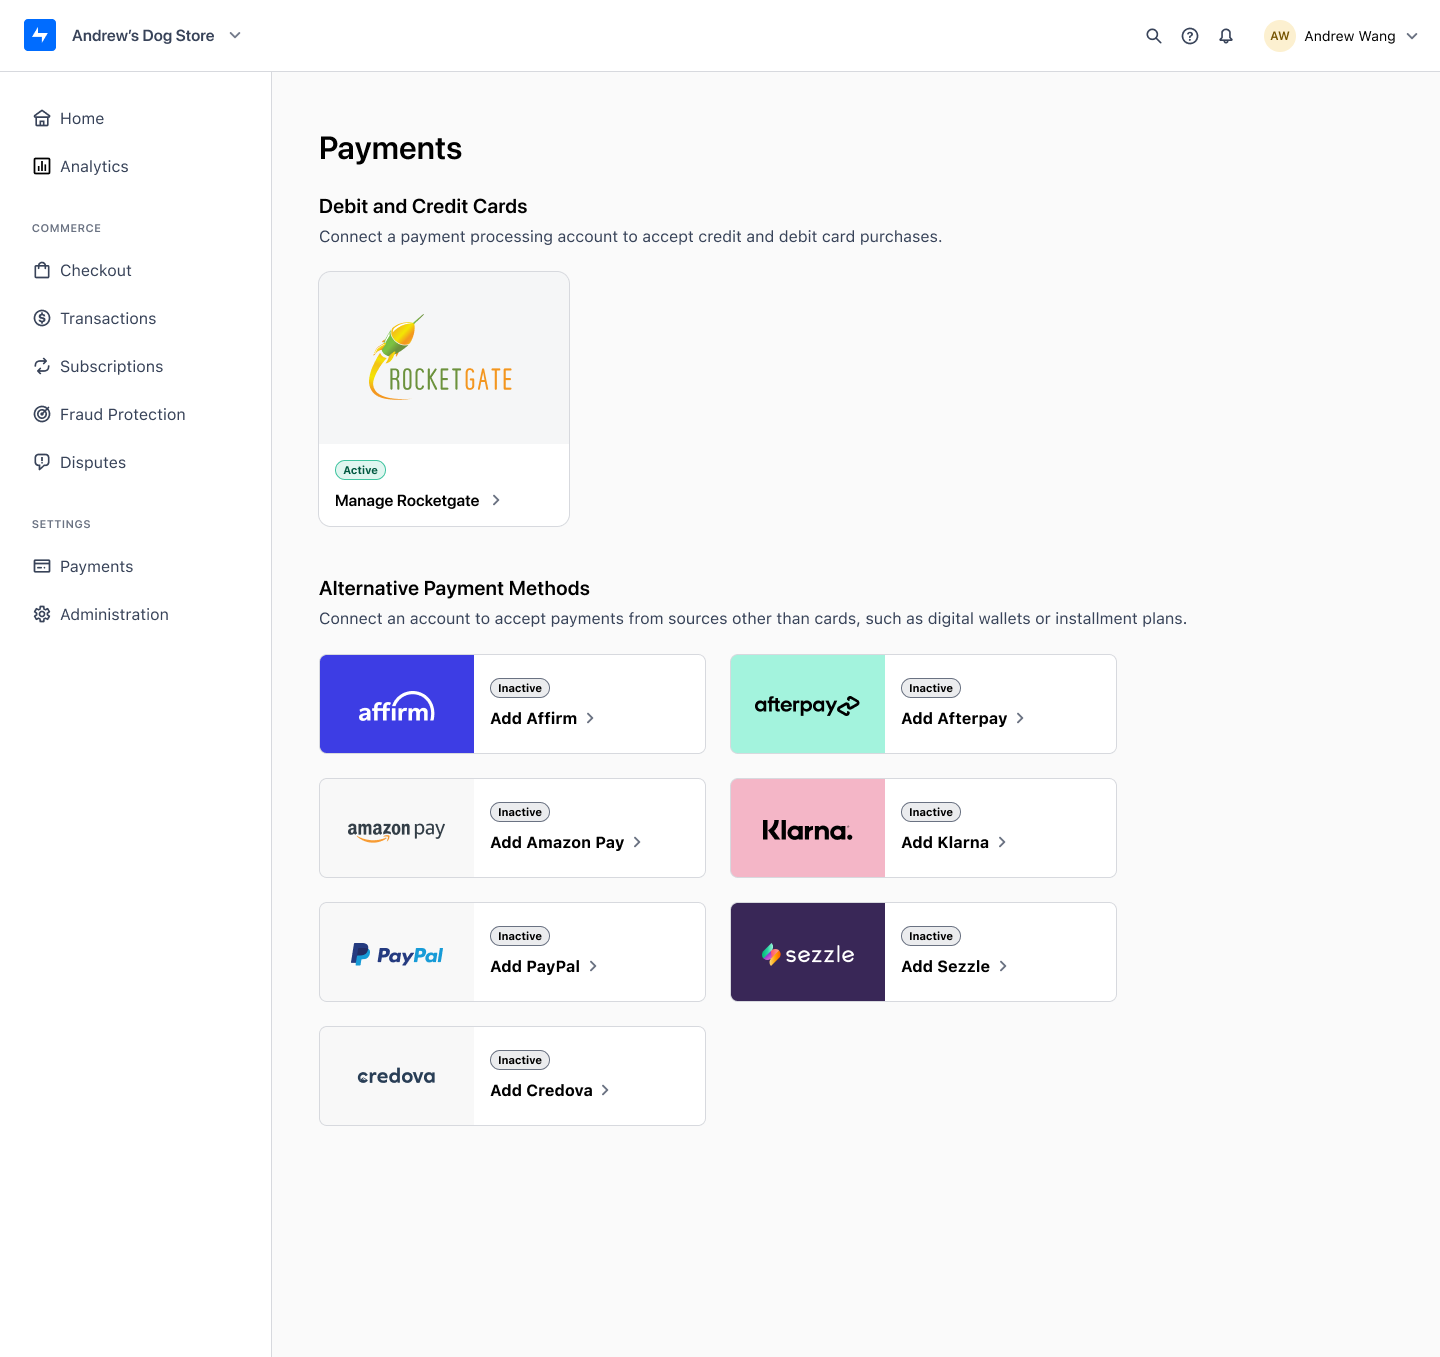
- Navigate to Settings > Payments.
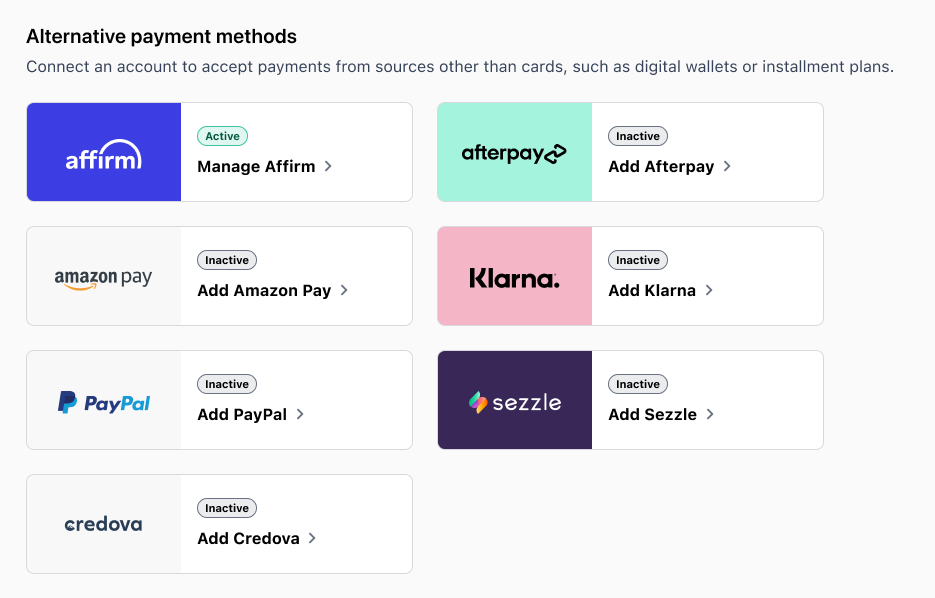
- Available APMs appear in the Alternative Payment Methods section. Click an APM tile.

- In Account keys, enter your credentials.
- In Main division settings, configure default payment settings.
- Set the Enable in Checkout toggle:
- Enabled : Show this APM to shoppers during checkout
- Disabled : Hide this APM during checkout, but keep the configuration in your dashboard
After you complete the steps above, all configured APMs that are enabled in checkout appear as Active.

APMs and Divisions
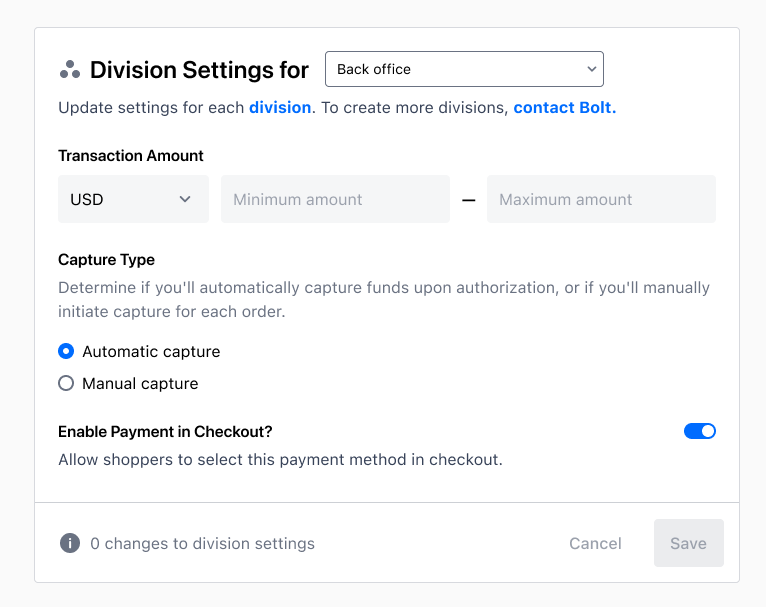
Click Manage on an APM tile to customize payment settings by division.
The following division-level settings are available for each APM:
| Affirm | Afterpay | Amazon Pay | Apple Pay | Klarna | PayPal | Sezzle | |
|---|---|---|---|---|---|---|---|
| Enable in Checkout | ✓ | ✓ | ✓ | ✓ | ✓ | ✓ | ✓ |
| Auto vs. manual capture | ✓ | ✓ | ✓ | same as processor | ✓ | ✓ | ✓ |
| Minimum & maximum thresholds | ✓ | ✓ (read-only) | ✓ | ✓ | ✓ | ✓ | ✓ |
| Show promotional message | deprecated |

When new divisions are added, they are disabled by default for configured APMs. To add the APM for a division, manually enable the APM and configure division-level settings.
Switch or Disconnect Account
WARNING
Unlinking your APM account ends synchronization between your APM and Bolt. You will not be able to perform refunds or other post-authorization actions from Bolt.
To prevent transaction sync issues with post-authorization actions, hide the APM from checkout. After the return window has passed for all transactions, you may change or delete the credentials.
Step 1: Disable the APM Through the Return Window
- Log into the Bolt Merchant Dashboard.
- Navigate to Settings > Payments.
- Find the APM and click Manage.
- Toggle the Enable in Checkout setting to No for all divisions.
- Click Update.
- Wait for the duration of your return window.
- Return window: The maximum number of days after a purchase wherein the customer can return items.
Step 2: Unlink Account
- Ensure that APM has been hidden from checkout for the duration of your return window.
- Log into the Bolt Merchant Dashboard.
- Navigate to Settings > Payments.
- Find the APM and click Manage.
- Delete the account credentials or replace them with a different account’s credentials.
- Click Update.
Considerations
Sandbox Testing
We recommend configuring your APMs in a sandbox environment prior to going live in production. Follow the instructions in each APM setup guide.
Refunding Transactions
Always perform refunds via the Bolt Merchant Dashboard or your ecommerce platform. Do not perform refunds via the APM dashboard.
Availability
Not all APMs are compatible with all processor/gateway relationships. Make sure to confirm with your Customer Success Manager that an APM is compatible with your stack before beginning setup.
Restricted Item Categories
See our list of restricted item categories before setting up your payment methods.
