
To connect Checkout Everywhere using the Custom API, you need to implement a set of predefined API endpoints in your system. The instructions below walk you through this process and explain how to enter the required information in your Bolt Merchant Dashboard.
Step 1: Implement endpoints
- Implement Get product feed endpoint.
- Implement Get product endpoint.
- Implement Get order endpoint.
- Implement Place order endpoint.
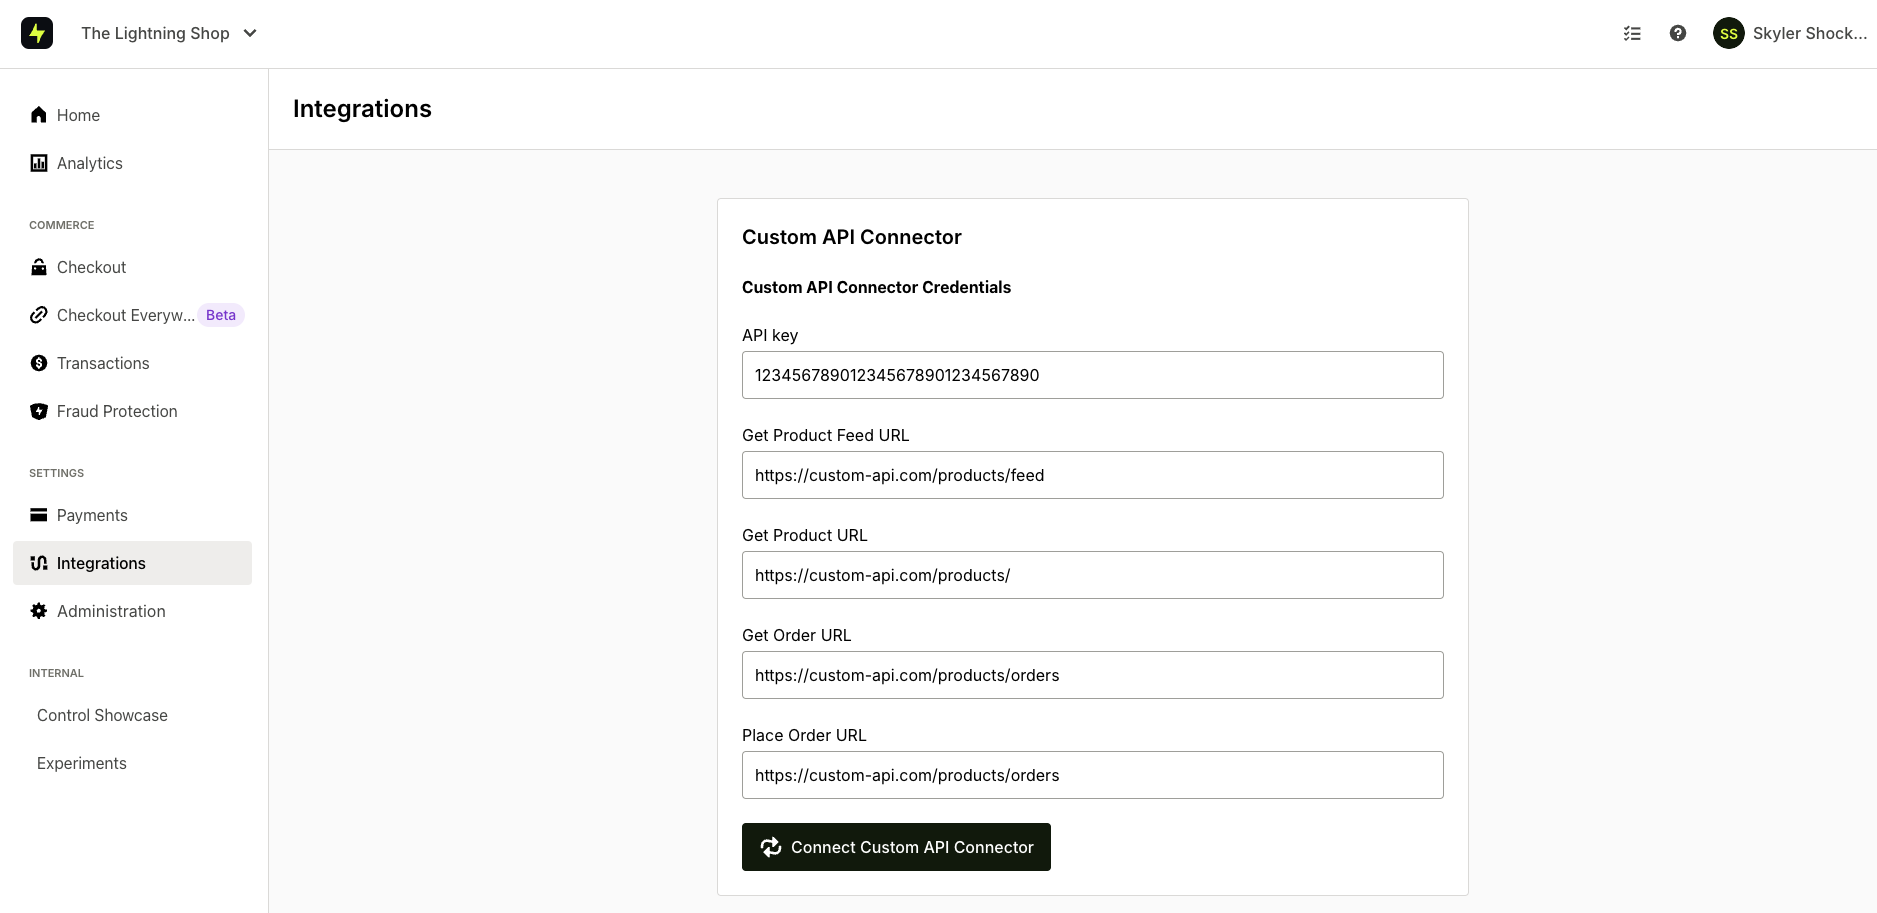
Step 2: Fill Custom API Information in Bolt Merchant Dashboard
- Go to the Bolt Merchant Dashboard and navigate to Integrations.
- For API key, enter the
API key. - For Get Product Feed URL, enter the URL of your Get product feed endpoint.
- For Get Product URL, enter the URL of your Get product endpoint.
- For Get Order URL, enter the URL of your Get order endpoint.
- For Place Order, enter the URL of your Place order endpoint.
- Click Connect Custom API Connector
Step 3: Set Up Payment Processor
If you already have Bolt Checkout, Accounts, or Embeddable Checkout set up, you can skip this step. If you are new, follow the instructions in our Payment Processor articles to set up your specific payment processor.
Step 4: Configure Your Checkout
If you already have Bolt Checkout, Accounts, or Embeddable Checkout set up, you can skip this step. If you are new, follow the instructions listed below to configure your checkout:
- Enter store and support information.
- Add store logo.
- Other checkout settings as found in your dashboard.
Step 5: Create your Checkout Links
Go to the dashboard and follow the instructions found in our Create Checkout Links article to start using Checkout Everywhere.