About

Overview
The Login modal is a required component that validates and authenticates the shopper before or during the checkout process.
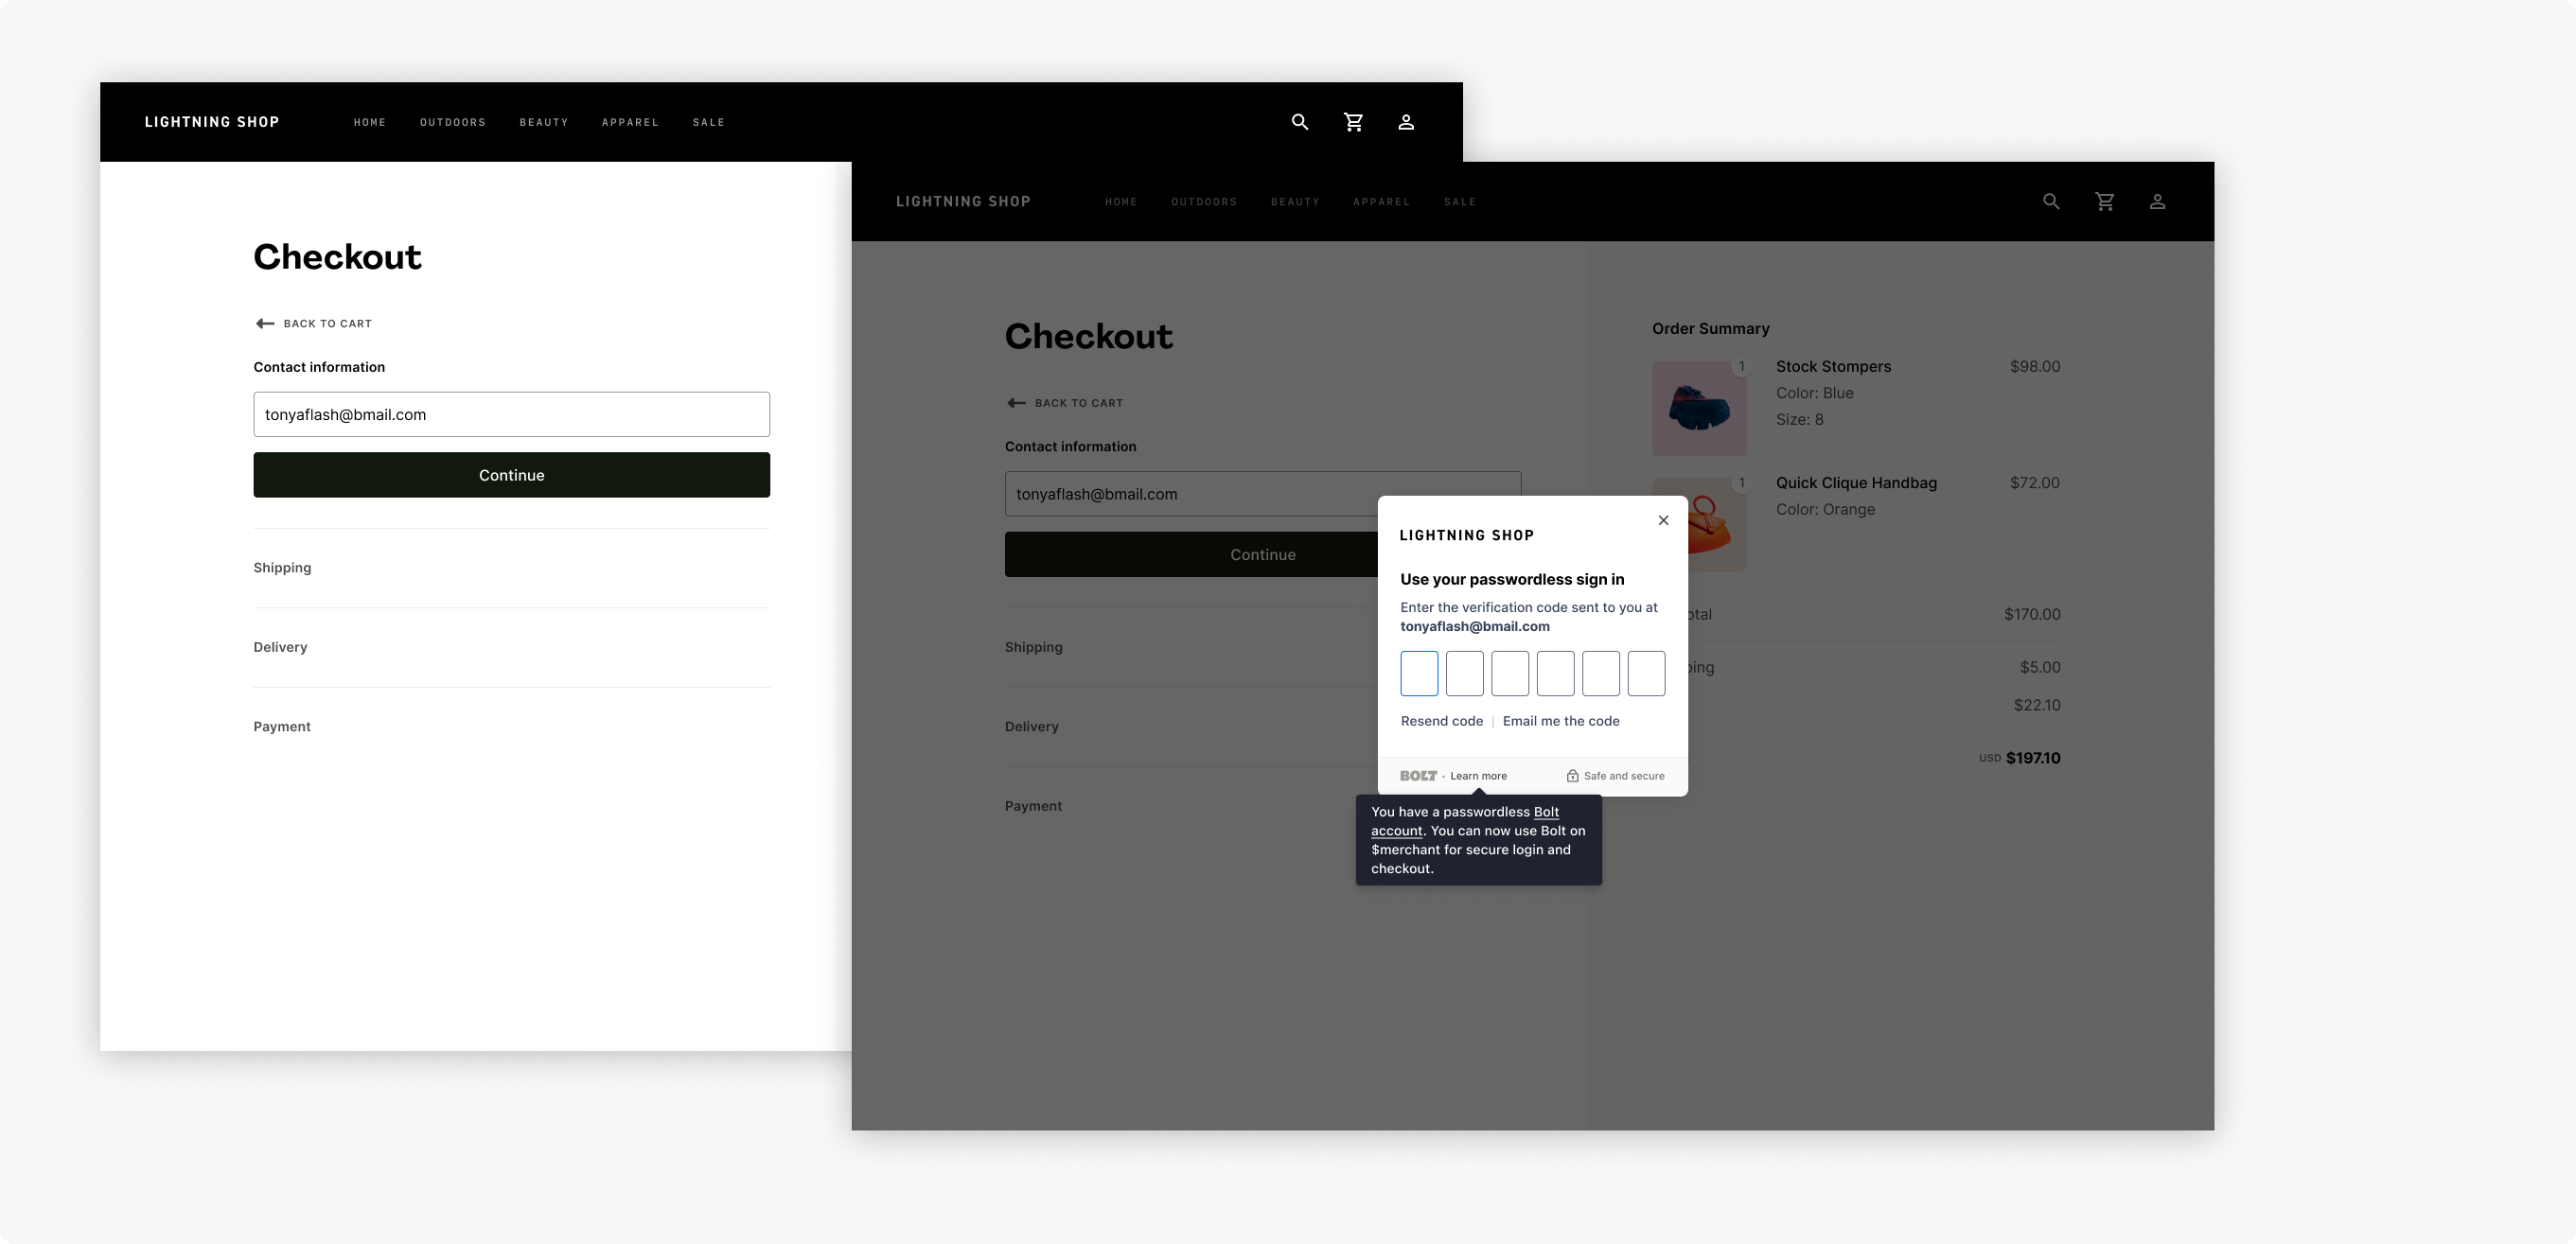
This component should be attached to all email fields, and it will automatically detect emails typed into the input field. This is called Automatic Email Detection.
Shopper Experience
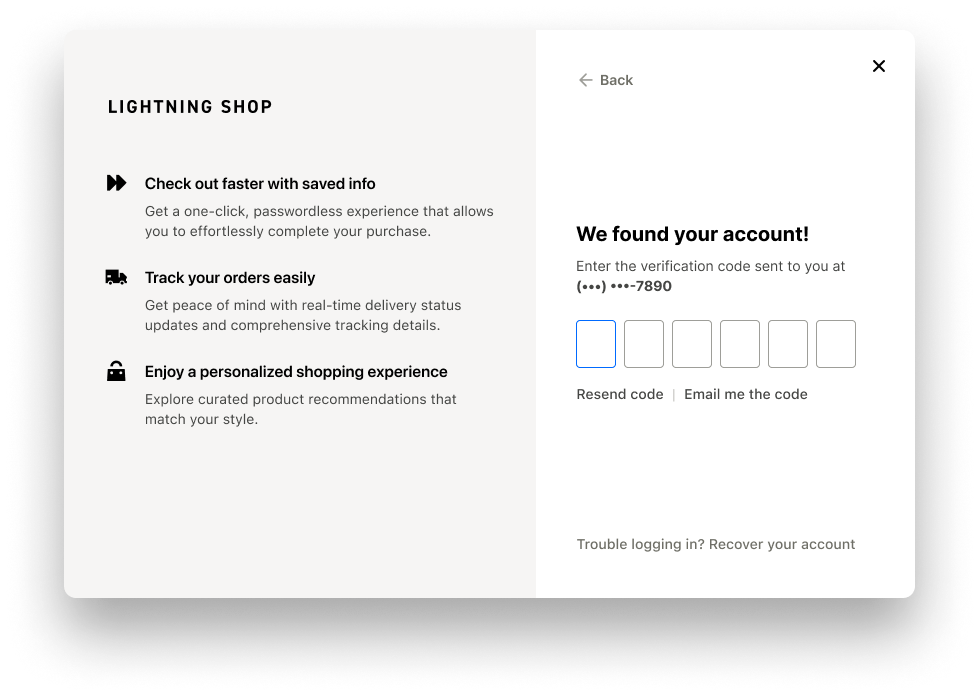
The shopper will enter their email into a login email fields. Once entered, they are automatically prompted to input a one-time verification code (OTP) into the Login Modal or use a Passkey.
If a shopper has a Bolt Account, but has not associated their phone number with it, they’ll be asked to do so after entering their credentials. This step further secures their Bolt Account and provides an additional method for identity verification and account management.

Placement
The login modal will mount to the document body and take up the entire screen when prompting login.
Styling
Merchants can input their logo and legalese links into the dashboard, which will automatically populate in the modal.

States & Interactions
The modal will automatically choose to display content according to the shopper’s account status on Bolt and your site (referred to as merchant, below). These are as follows:
- Shopper has both a Bolt and a merchant account.
- Shopper has Bolt account only.
- Shopper has a merchant account only.
- Shopper has neither a Bolt or merchant account.

Implementation
Step 1: Create the Login Modal on Sign In, Registration and Checkout
Add the login modal on all email fields to allow shoppers the opportunity for passwordless login. This includes in your sign in, registration, and checkout pages. By default, the Login modal will automatically pop up when a Bolt-recognized email is entered.
Start by initializing Bolt with your publishable key.
Next, create the login modal and attach it to your email field.
Recommended
<script>
  async function initBolt() {
    const loginModal = Bolt.create("login_modal");

    loginModal.attach("#email-form-group", { context: "checkout" });

    Bolt.on("login_failed", (loginFailedResponse) => {
      // Error means the user either dismissed the modal, or there was an error
    });

    Bolt.once("login_succeeded", (loginSuccessResponse) => {
      // use the `result` to get shopper details as described in the previous step
      // The response with authorization code should only be used once
    });
  }
</script>

<div id="email-form-group">
  <input type="email" />
</div>
interface LoginSuccessResponse {
  email: string;
  result: {
    authorizationCode: string;
    scope: string;
    state?: string;
  }
}

interface LoginFailResponse {
  email: string;
  result: Error;
}
NOTE
You can add attach the login modal to more than one email field on the page using the same login component. Ensure you set the appropriate login context options.
loginModal.attach("#login-email-group", { context: "sign_in" });
loginModal.attach("#register-email-group", { context: "register" });
Manual Handling (Alternative)
There might be times when you want to initiate the Login modal yourself. For example, if you programmatically populate the email field, Bolt may not register this email with the autoDetectEmail feature. And if for any reason you decide to turn off autoDetectEmail, you will need to manually trigger the modal. In these cases, you can skip loginModal.attach() call and instead do loginModal.attemptLogin() when you want to start the login flow.
<script>
  async function initLoginManual(customerEmail) {
    const loginModal = Bolt.create("login_modal", {
      autoDetectEmail: false,
    });

    document.getElementById("continue-button").addEventListener("click", () => {
      const emailField = document.getElementById("email-field");
      const result = loginModal.attemptLogin({
        email: emailField.value,
      });

      if (result != null) {
        // empty result means the user either dismissed the modal, or there was an error.
        return;
      }
      // use the `result` to get shopper details as described in the previous step
    });
  }
</script>

<div id="email-div">
  <input id="email-field" type="email" />
  <button id="continue-button">Continue</button>
</div>
NOTE
The element ID should be the ID of a container div, not the input field itself. The login component iframe cannot properly render when attached to <input> elements.
Login contexts
By default, the login modal will assume you are in the Checkout page (login context checkout). On other pages you must provide the appropriate login context when attaching your email field.
await loginModal.attach("#email-form-group", { context: "sign_in" });
If you don’t want to auto-detect emails but instead manually handling the initiation yourself, you can pass context as a 2nd argument to attemptLogin().
await loginModal.attemptLogin({
   email,
}, "sign_in");
The login contexts are as follows:
context Value (LoginContext) |
Description |
|---|---|
sign_in |
Your login or sign in screen’s email field |
register |
Your account creation screen ’s email field |
forgot_password |
Your sign in screen’s “forgot password” button |
pre_checkout |
Some sites have a “returning customers” screen right before checkout. Attach to that email field. |
checkout or null (default context value) |
Your checkout page’s email field |
NOTE
In the sign_in and register contexts, a login button will automatically appear below the email field when an email is typed. If you set autoDetectEmail to false, you will have to mount this yourself.
Step 2: Handling Login events with hooks
Hook into various login events with Bolt.on()
The method takes two parameters:
- event name, and
- a callback function.
This method returns an unsubscribe function.
interface Bolt {
  on(
    eventName: string,
    callback: (response: LoginEventResponse) => void
  ): () => void;
}
Event Names
| Event Name | Response | Emit time |
|---|---|---|
login_complete |
{ email: string; result: AuthorizeResult | Error; } |
After login attempt complete, whether succeeded or failed |
login_succeeded |
{ email: string; result: AuthorizeResult } |
After login attempt succeeded |
login_failed |
{ email: string; result: Error } |
After login attempt failed |
account_check_complete |
{ email: string; result: AuthorizeResult | Error; } |
After account existence check complete. Returns true if Bolt account exists |
login_modal_closed |
{ context: LoginContext; } |
After login modal closes |
login_modal_dismissed |
{ context: LoginContext; } |
After user chooses to close login modal without completing login |
INFO
The interface of AuthorizeResult (the response for login_complete) is identical to the original loginModal.attemptLogin() return value. An error can either mean there was a problem during login, or the shopper manually exited the modal.
type LoginContext =
  | "checkout"
  | "sign_in"
  | "register"
  | "forgot_password"
  | "pre_checkout";

interface AuthorizeResult {
  authorizationCode: string; // An authorization code can be exchanged for an access token
  scope: string; // Scope to get an access token for
}
Hook Implementation Examples
Listens to account login event:
const unsubscribe = Bolt.on("account_check_complete", (response) => {
  console.log("Account check complete", response);
});

const unsubscribe = Bolt.once("login_succeeded", ({ email, result }) => {
  // Proceed with login
});

const unsubscribe = Bolt.on("login_failed", ({ email, result }) => {
  // Display error
});
Step 3: Passwordless Forgot Password flow
If a shopper forgets their password, your site might have a “Forgot Password” button to direct them to reset their password. Improve this experience by allowing them a chance to do passwordless login instead.
<script>
  async function initLogin(customerEmail) {
    const loginModal = Bolt.create("login_modal");

    await loginModal.attach("#email-form-group", { context: "sign_in" });

    await loginModal.attach("#forgot-password", {
      context: "forgot_password",
    });

    Bolt.on("login_succeeded", ({ email, result }) => {
      // Proceed to login
    });

    Bolt.on("forgot_password_continue", ({ context }) => {
      // Proceed to your normal Forgot Password flow
    });
  }
</script>

<div id="email-div">
  <input type="email" />

  <button type="button" id="forgot-password">Forgot password</button>
</div>
If the shopper completes the Passwordless Forgot Password flow, a login_succeeded event will fire. Otherwise, listen to forgot_password_continue event to proceed to reset password the shopper’s password as normal.
Step 4: Bolt OAuth
The authorization code received from the Login Modal will enable the store to receive the necessary OAuth access tokens. These OAuth tokens will provide your store access to Bolt Account APIs. To enable your store to access Shopper Account data, see the OAuth reference for more information.
The store frontend should send the authorization code to your store backend and exchange the authorization code for the appropriate OAuth tokens using the OAuth Token endpoint.
Step 5: Unmount Login Modal (Optional)
To remove the component from the DOM, call the unmount function on the component instance. Use it to clean up Login modal listeners and unmount the iframe.
loginModal.unmount();