Use Bolt Subscriptions to sell digital goods on a recurring basis, from an external storefront or inside your app or game.
Prerequisites
Create a Bolt Merchant account and finish onboarding first.
Quickstart
To get started with Bolt Subscriptions, complete the following steps:
- Create and activate your Bolt Merchant account
- Complete Merchant Dashboard setup
- Configure products and plans
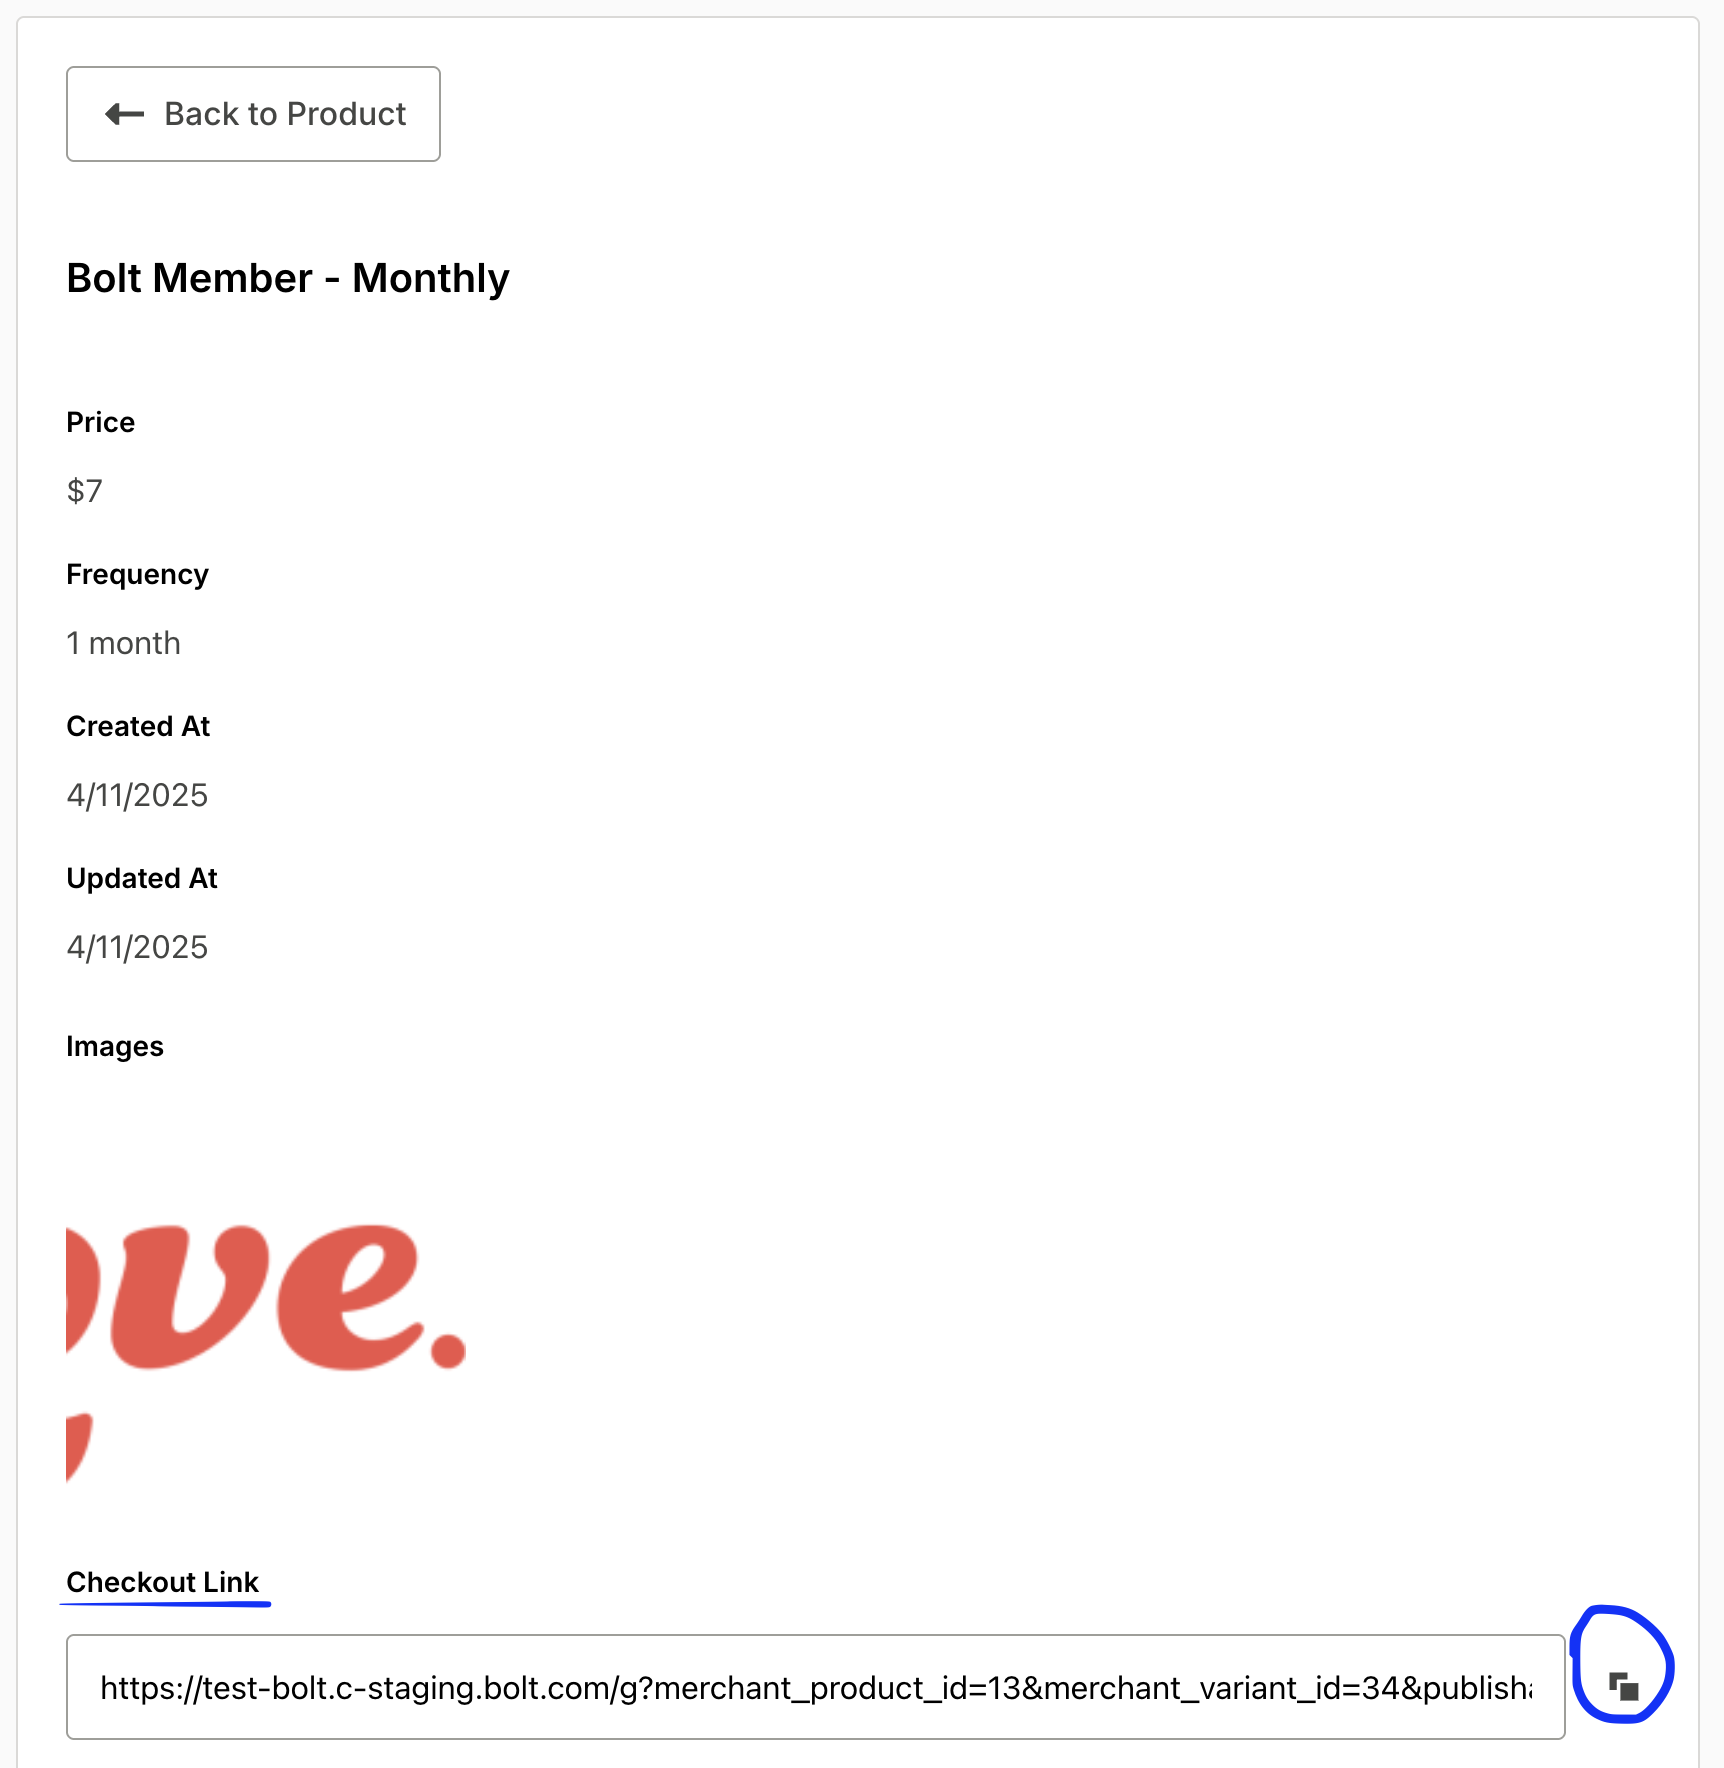
- Get checkout links
- Manage subscriptions
- Review shopper notifications
- Configure a tax provider
Create and Activate Your Bolt Merchant Account
- Create a Bolt Merchant account.
- Provide your company Website URL.
- Provide your company and personal details.
- Accept the terms and submit the form.
- Open the activation email from Bolt and follow the link to complete your setup.
After activation, sign in to your Bolt Merchant account.
Complete Merchant Dashboard Setup
Sign in to your Bolt Merchant account and finish the remaining setup tasks in the dashboard.
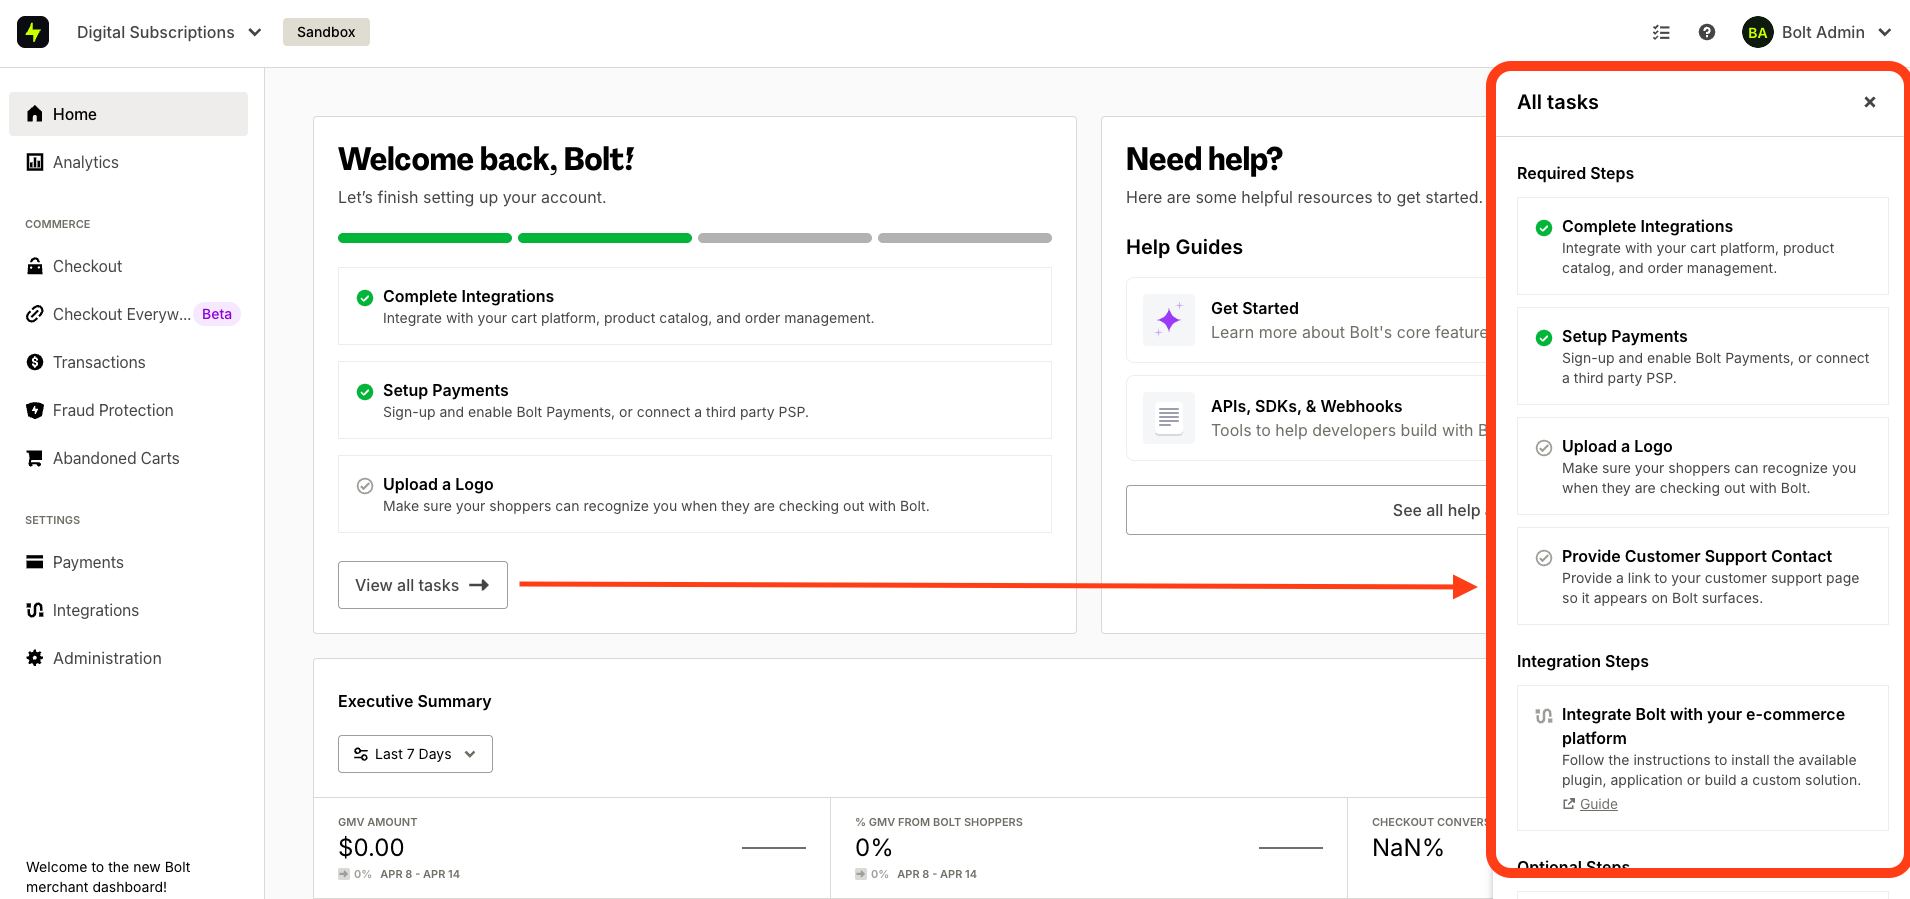
Upload a logo
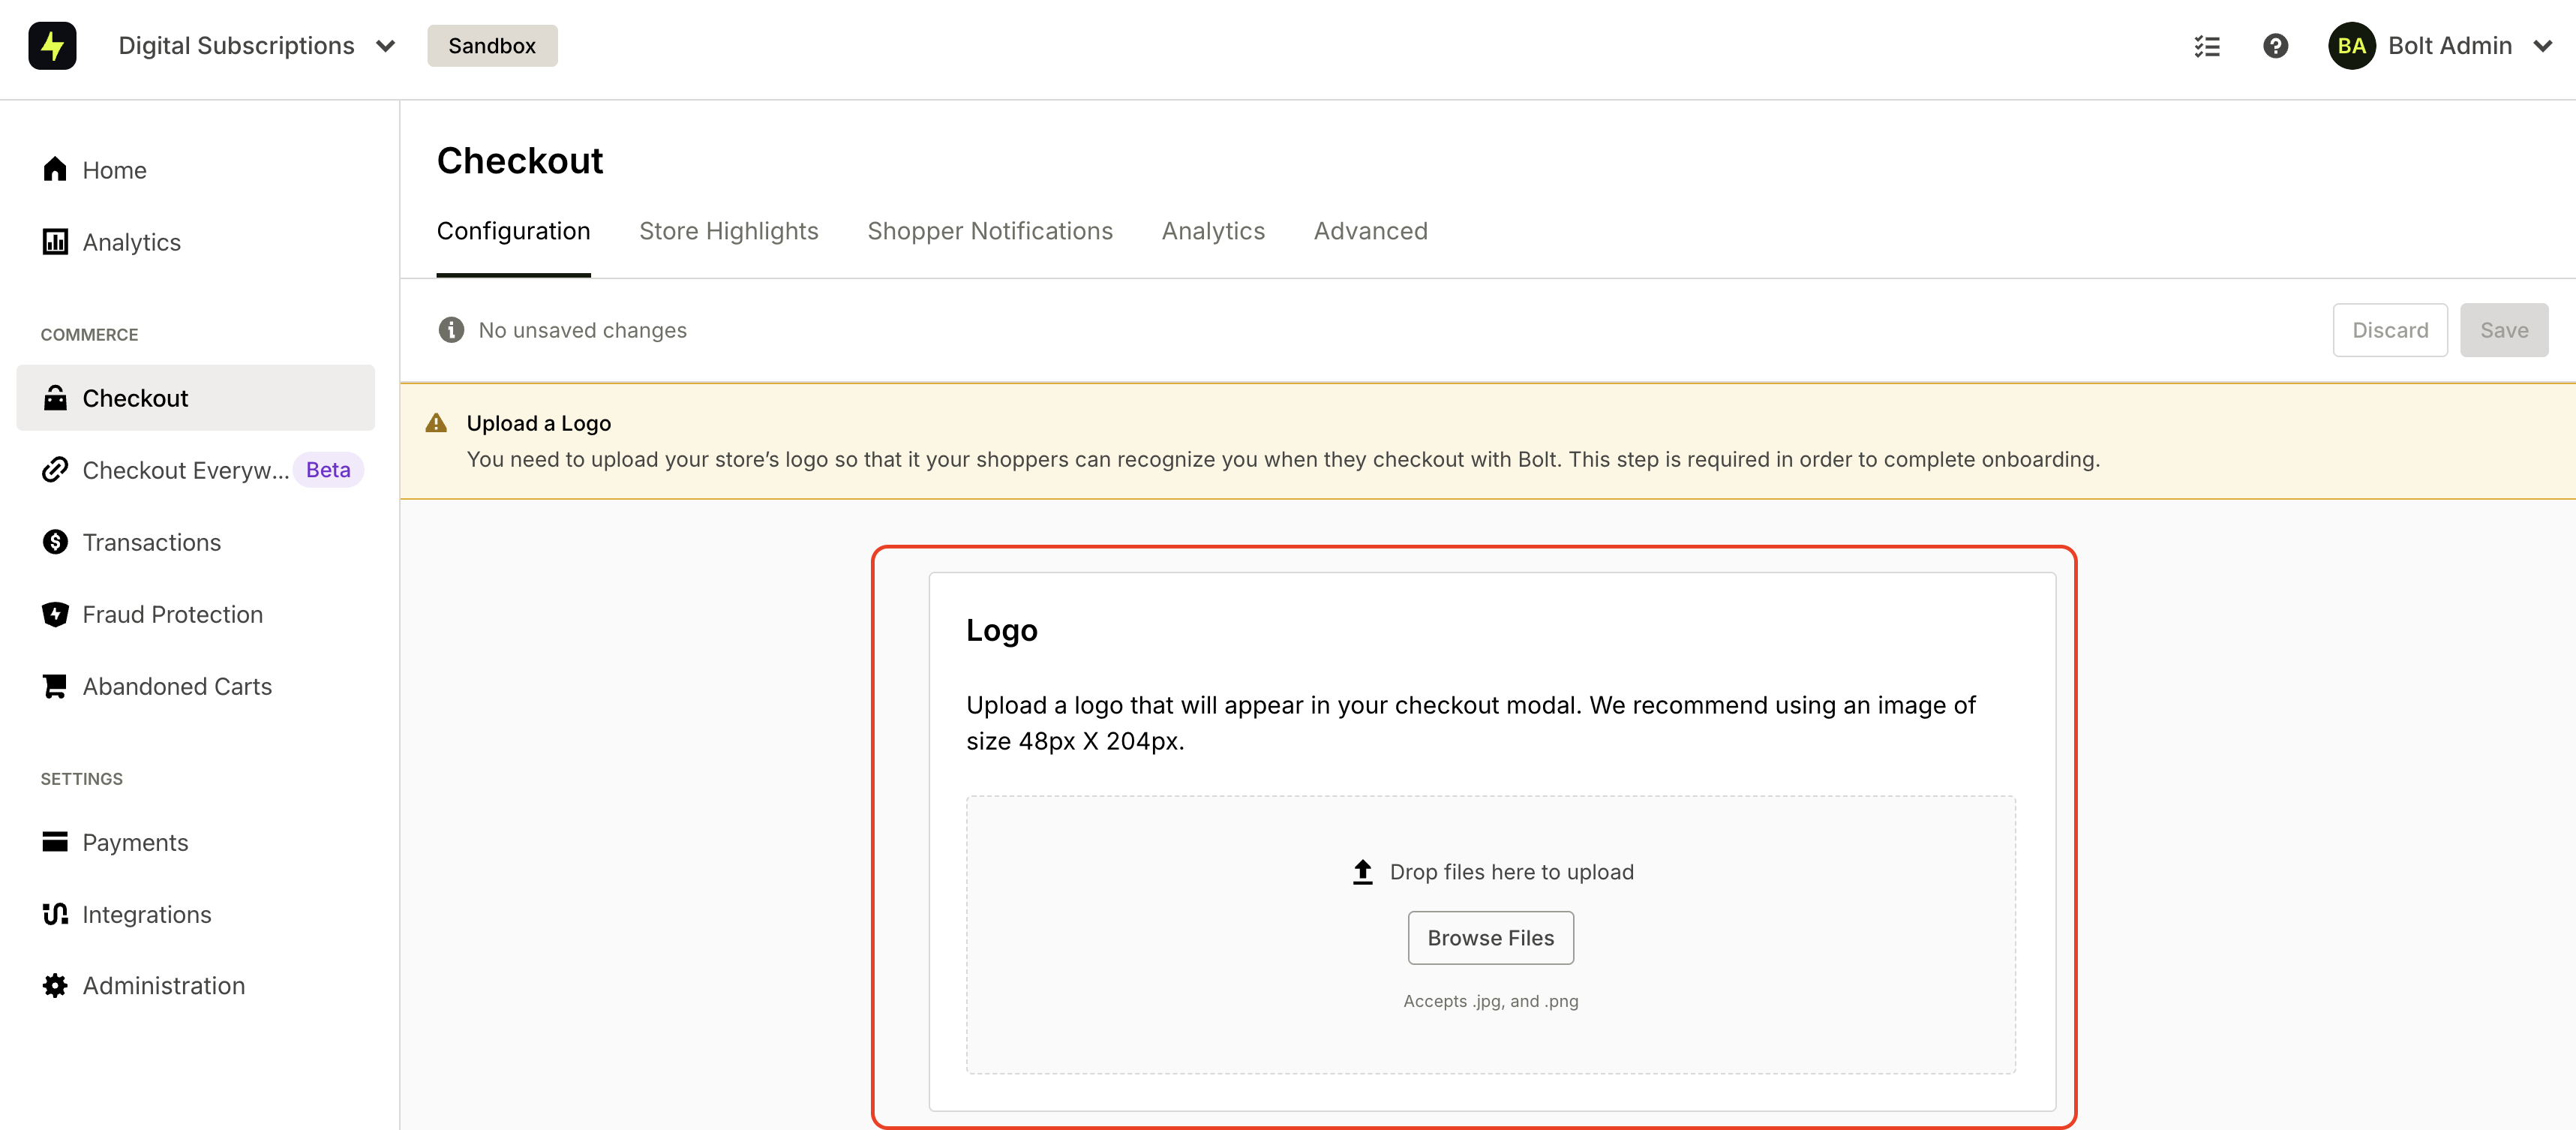
- Go to Checkout settings.
- Under Configuration, click Browse Files to upload your logo.
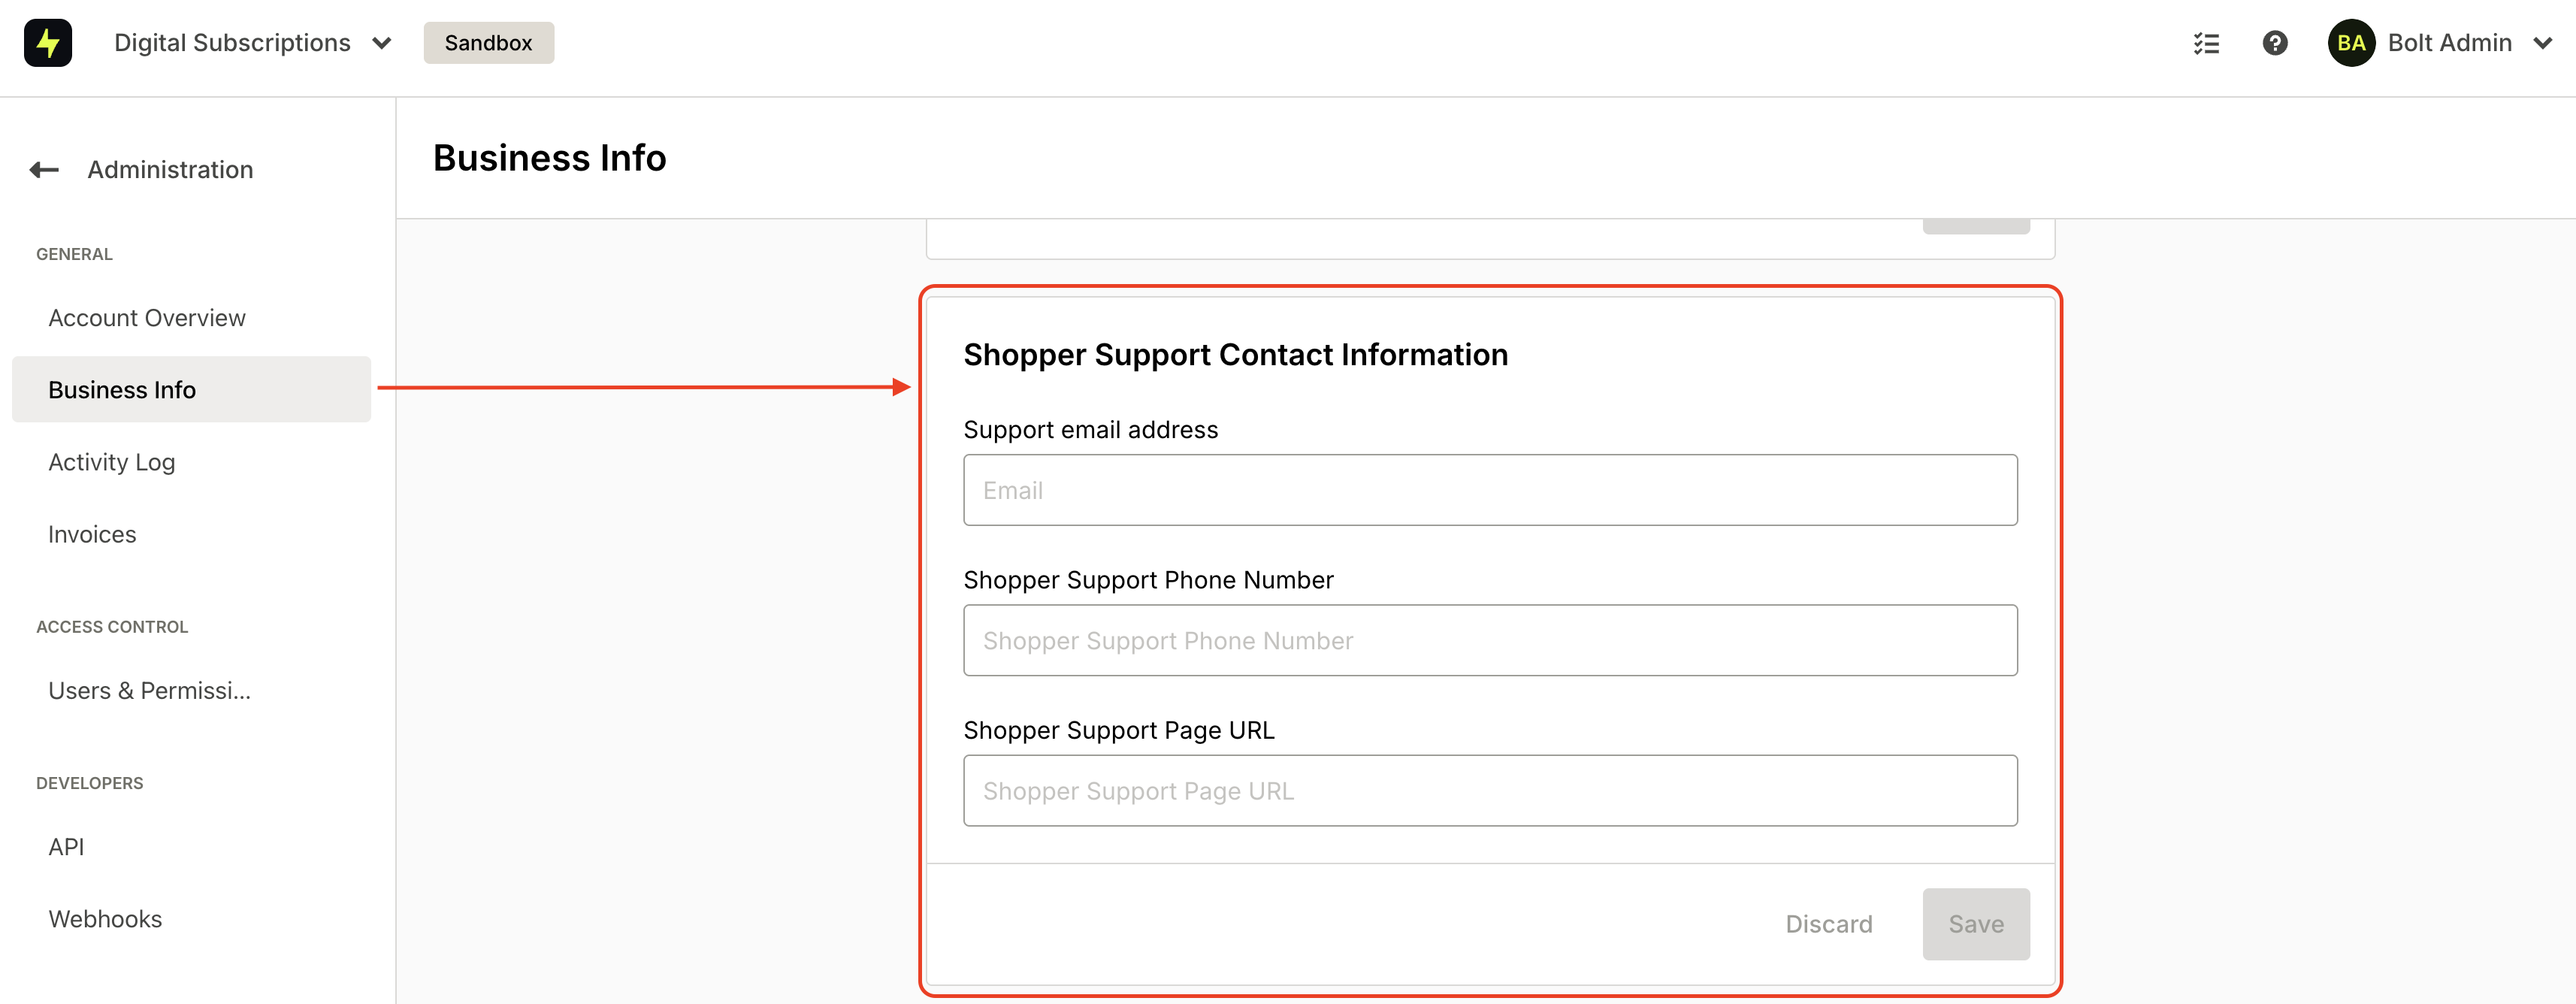
- Go to Administration settings.
- Select Business Info.
- Find the Shopper Support Contact Information section and enter your support contact info.
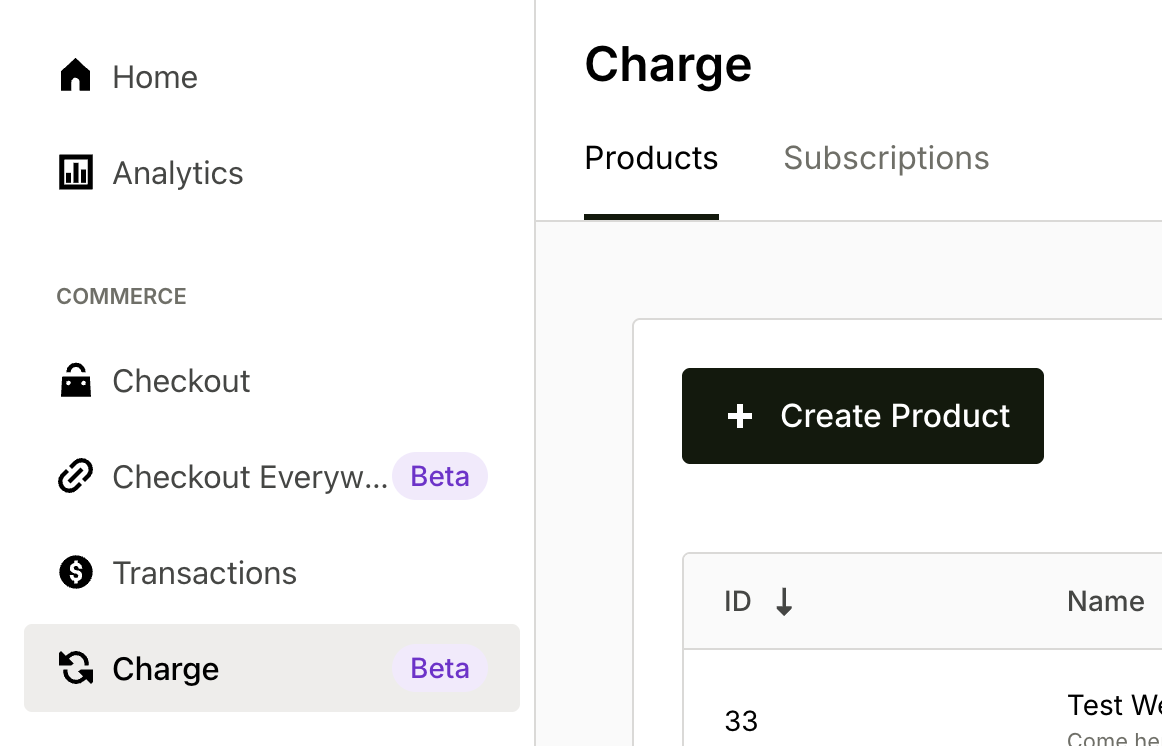
 To enable a digital subscription:
- Go to Charge and select the Subscriptions tab.
- On the Products tab, click Create Product.
- Fill in the product form and select at least one plan.
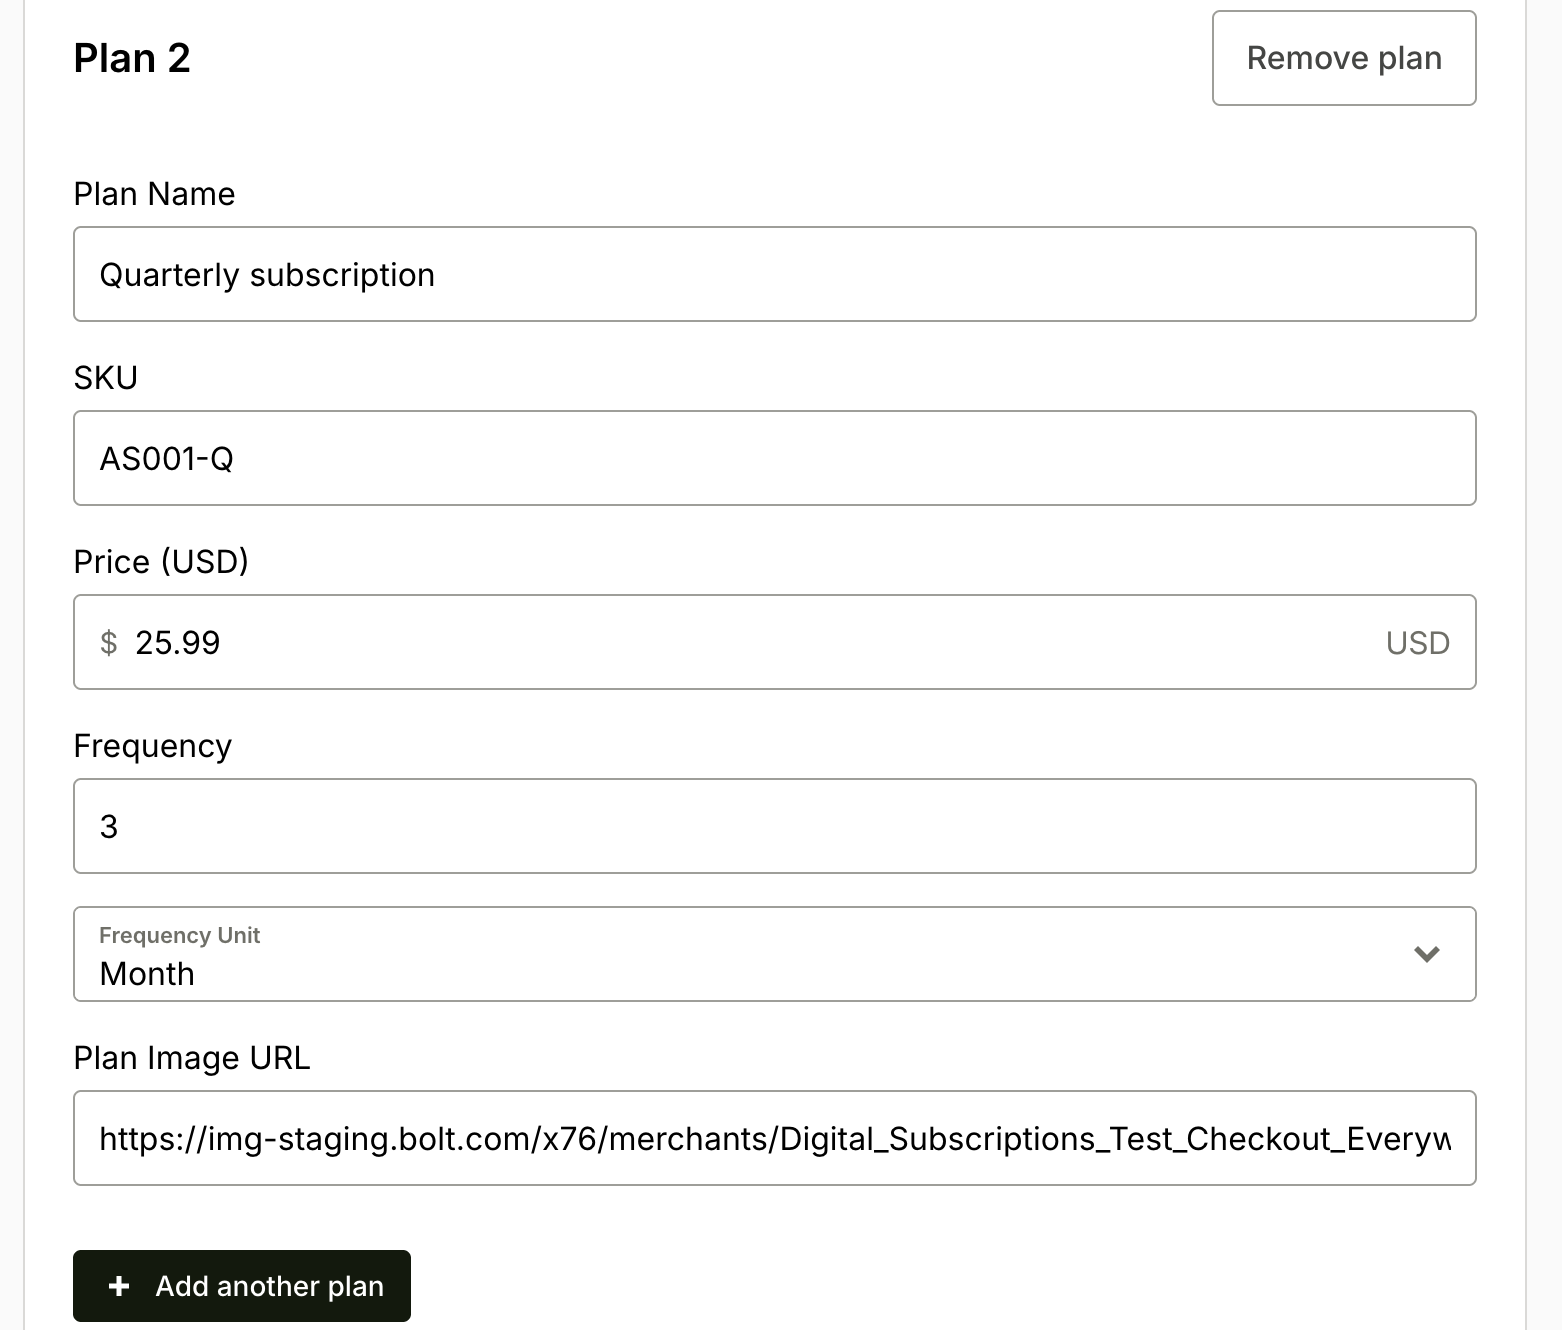
 The form collects information about the product you will sell and the subscription plans you want to offer. Each product can have multiple plans (for example, monthly and yearly), but at least one plan is required.
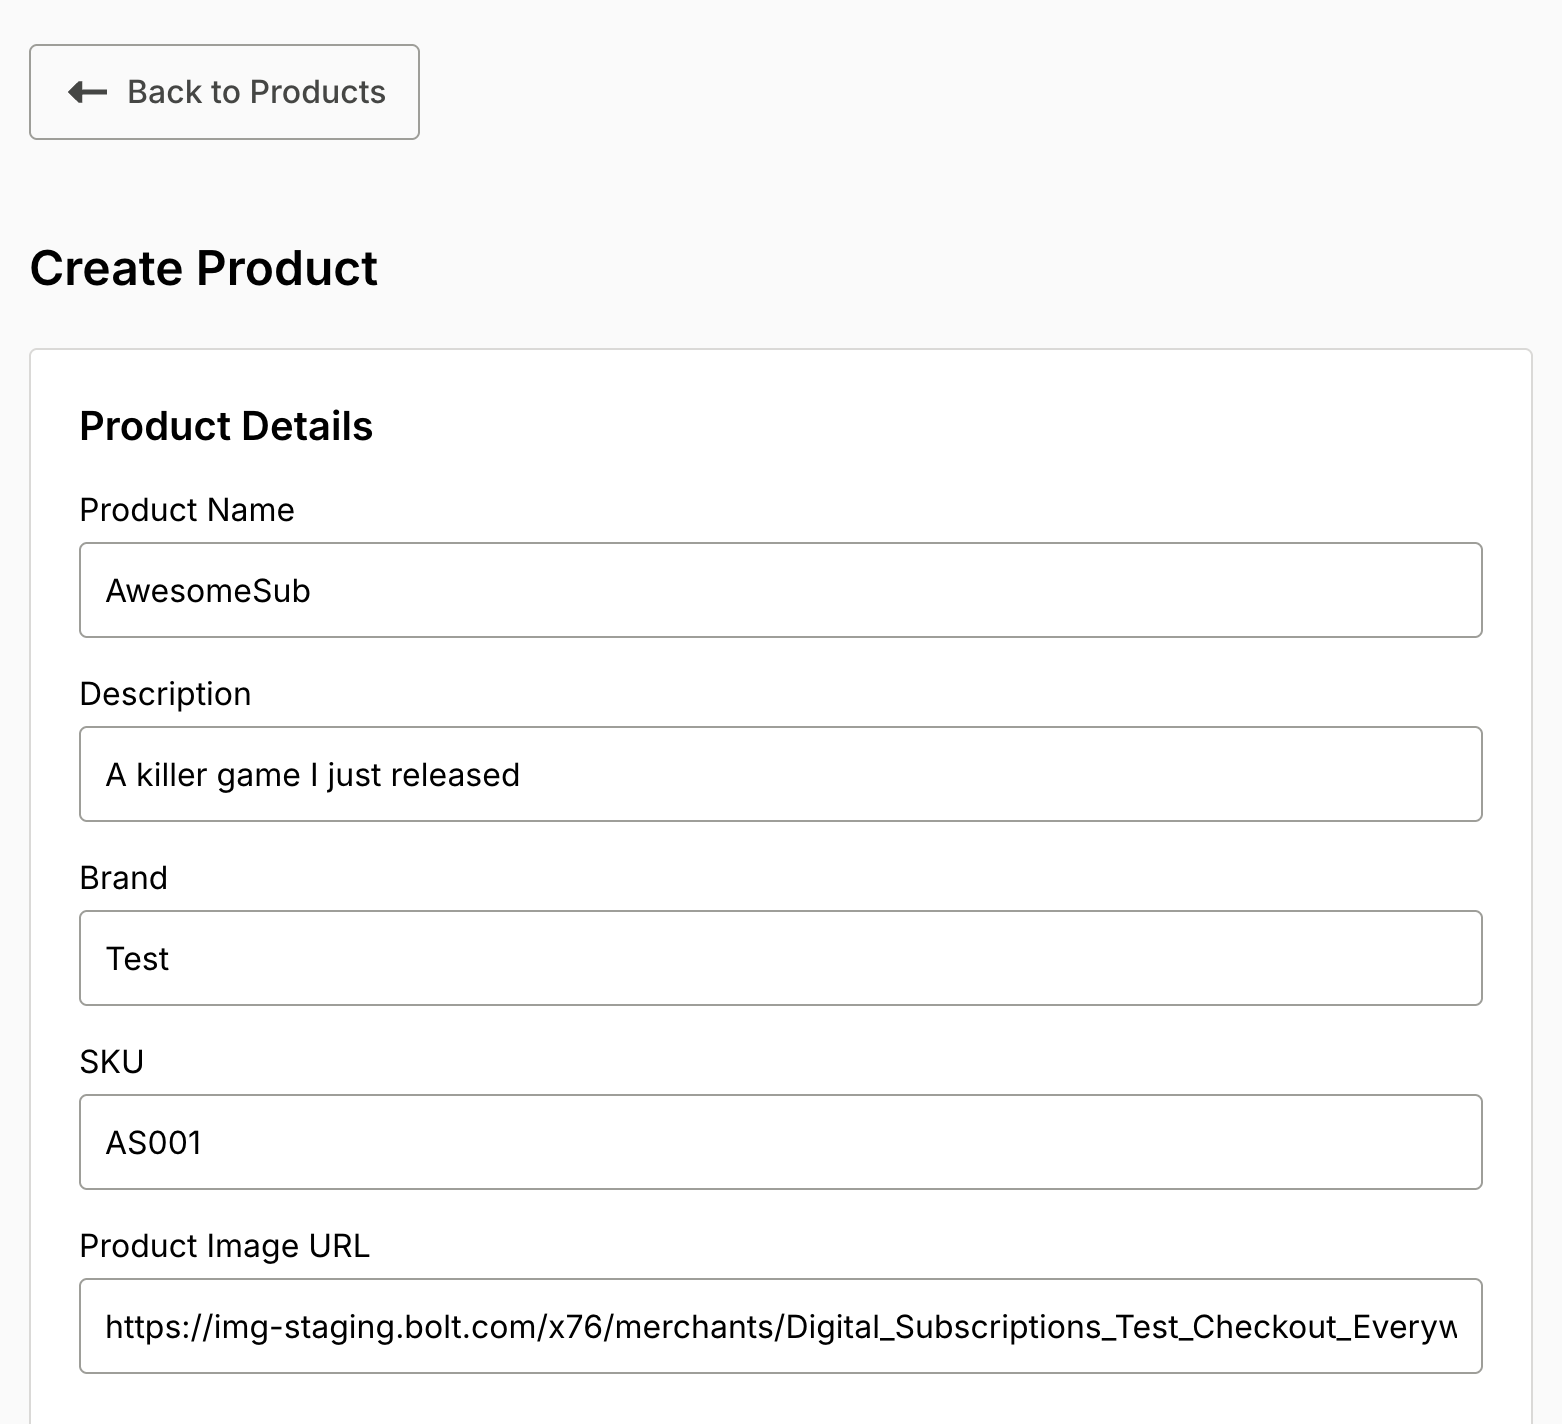
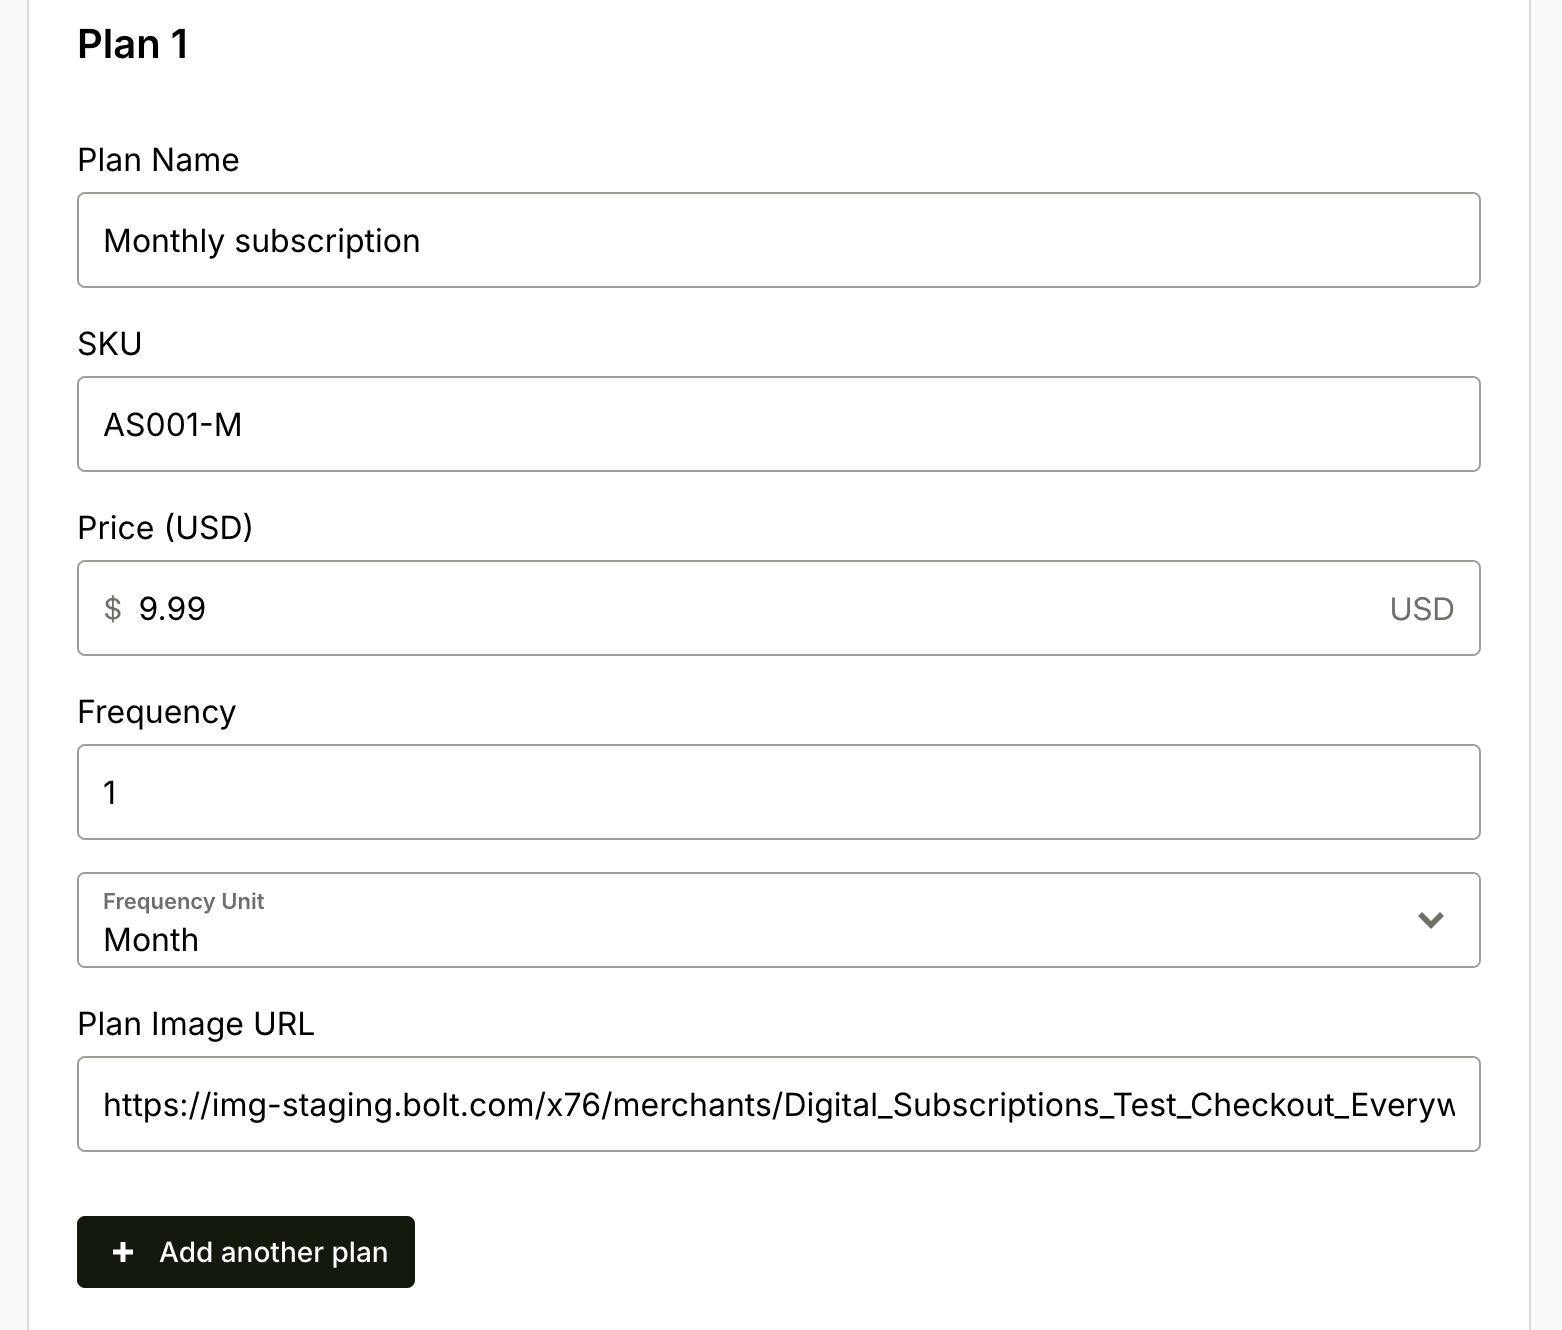
You can choose weekly, monthly, or yearly subscriptions. Changing the Frequency value allows extra flexibility; for example, Frequency = 3 and Unit = monthly yields a quarterly subscription.
Get Checkout Links
After creating a product:
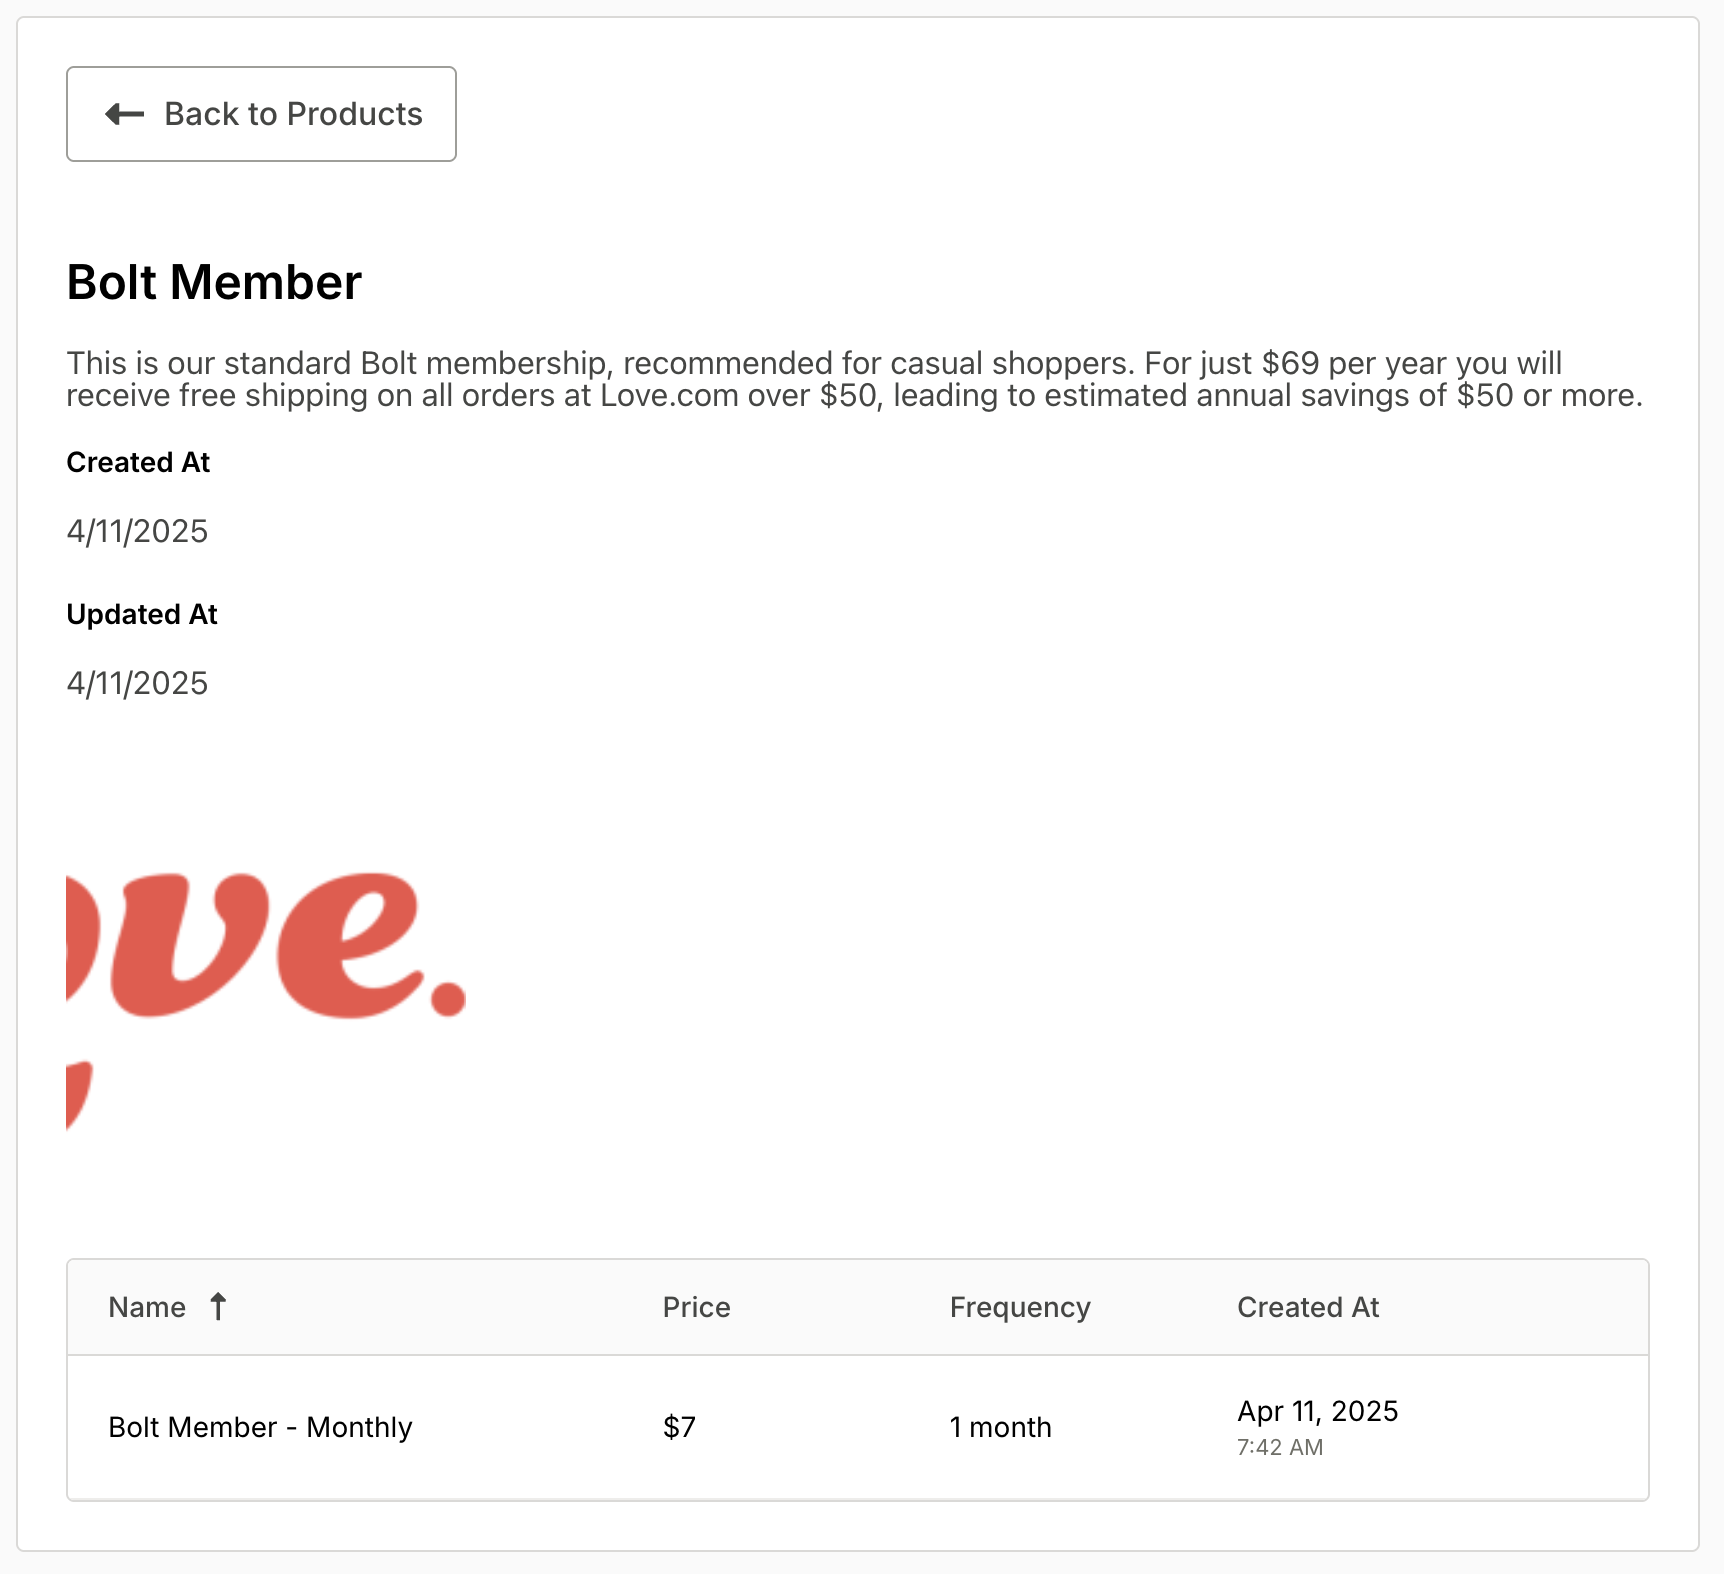
- Open the Product view to see all plans associated with it.
- Navigate to each Plan to get the Bolt checkout link for the subscription.
- Add those checkout links to buttons wherever shoppers should subscribe.
Manage Subscriptions
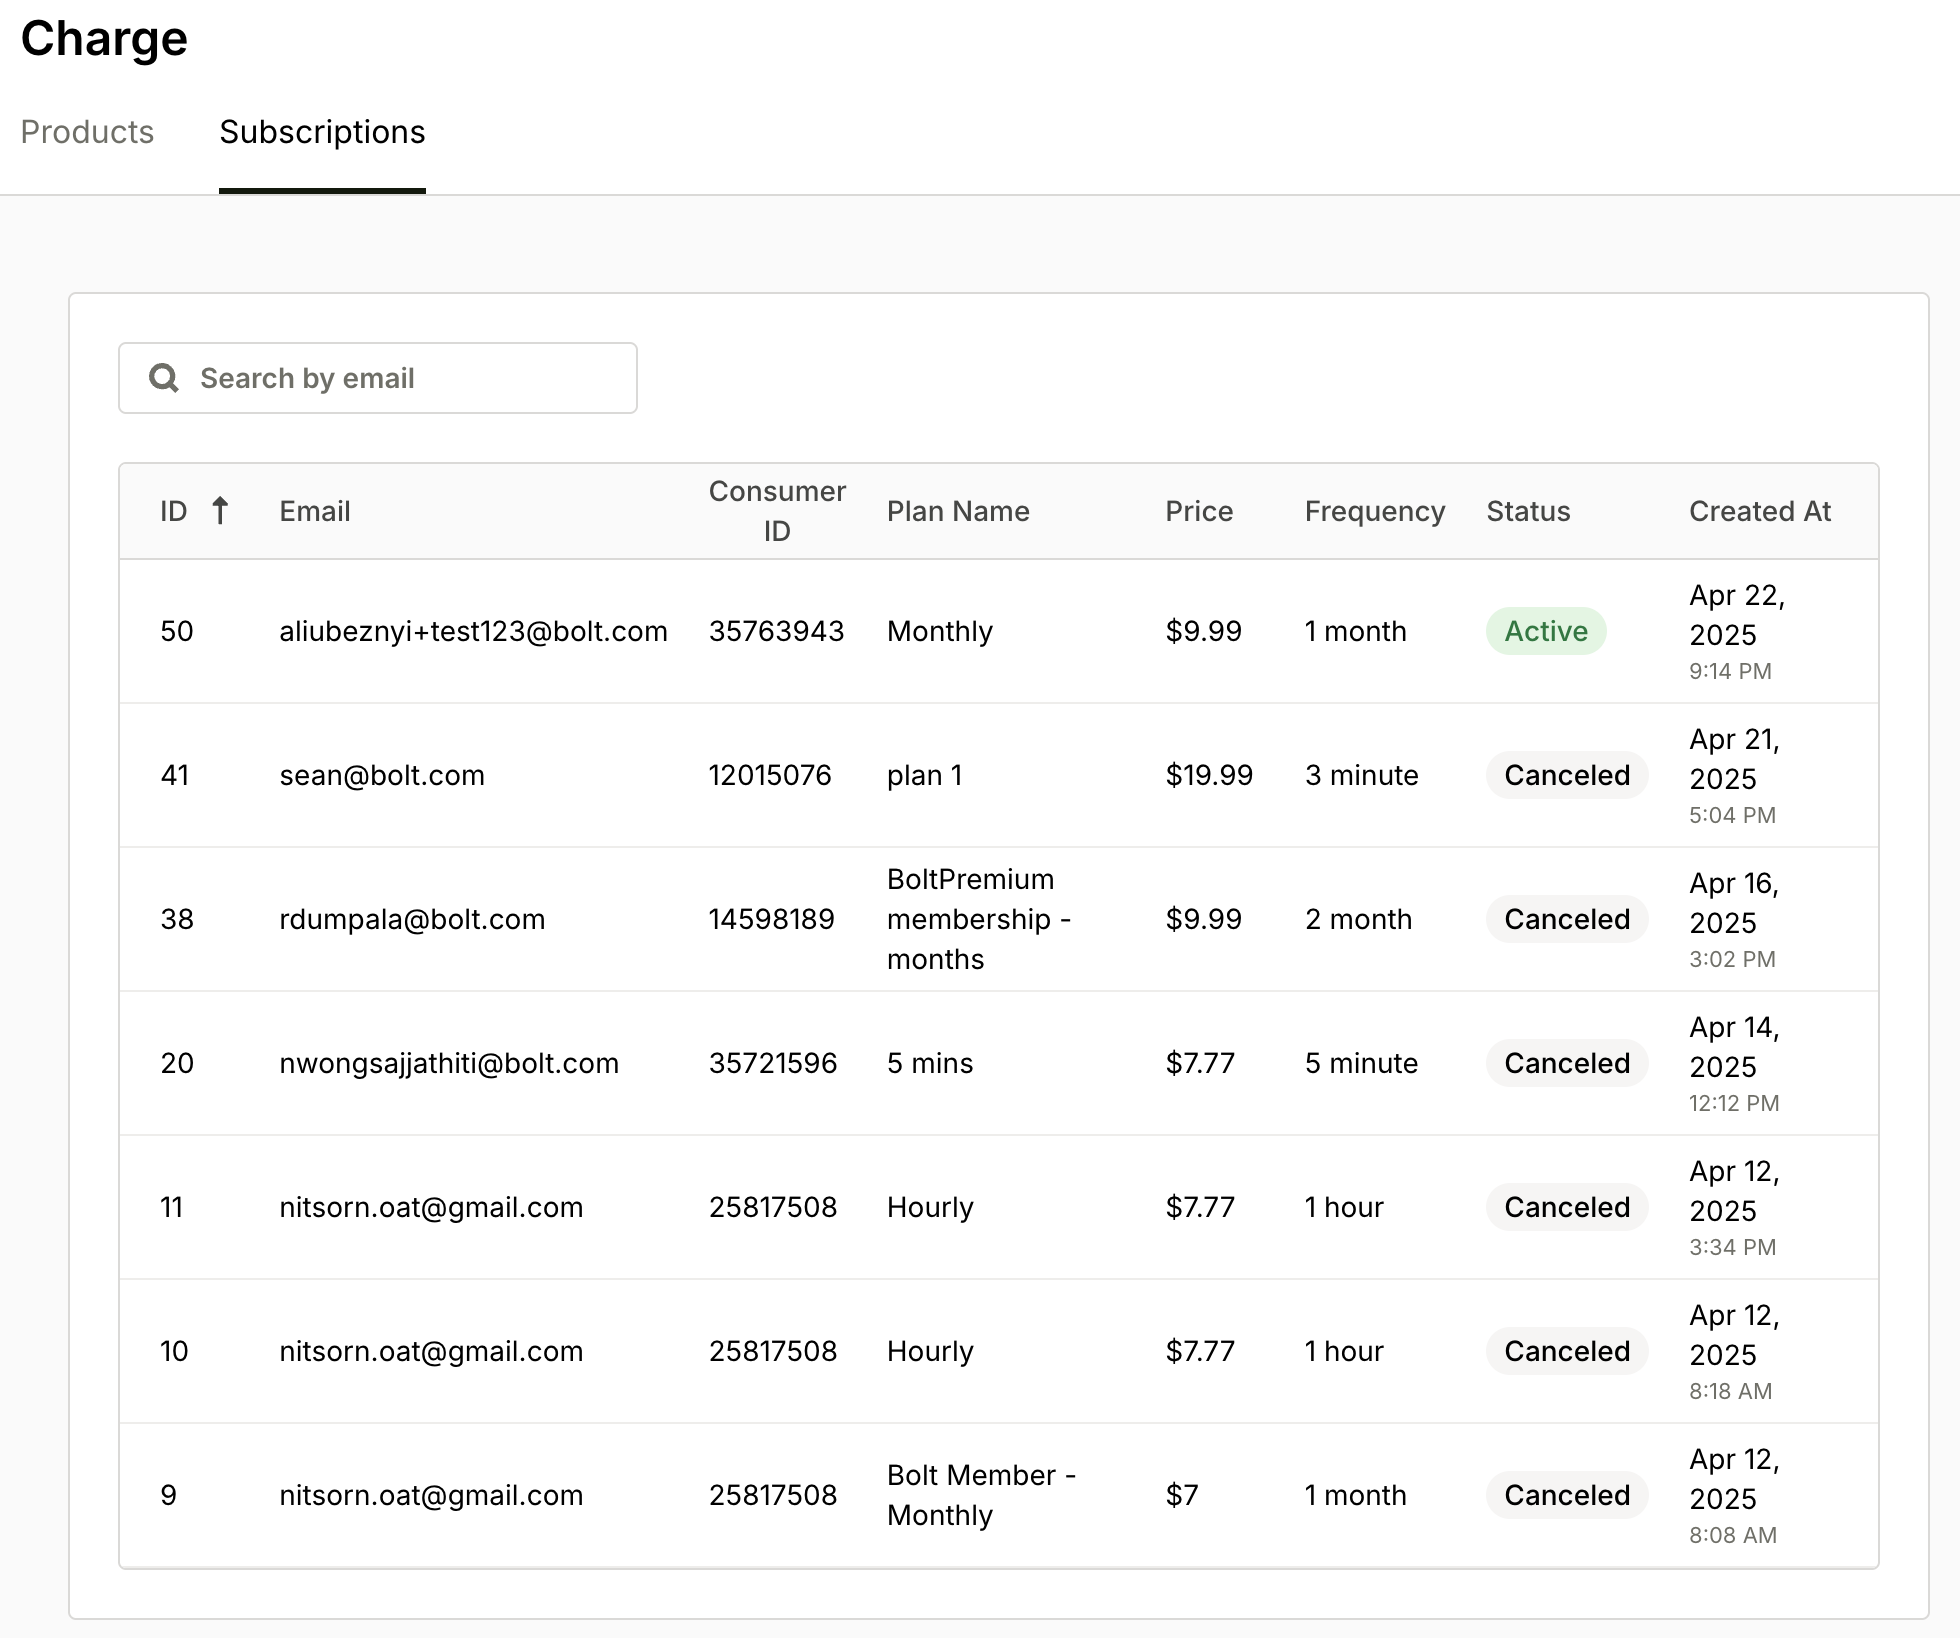
Subscriptions appear on the Subscriptions tab. The table shows active and canceled subscriptions across products.
- Use the search box to find a specific subscription.
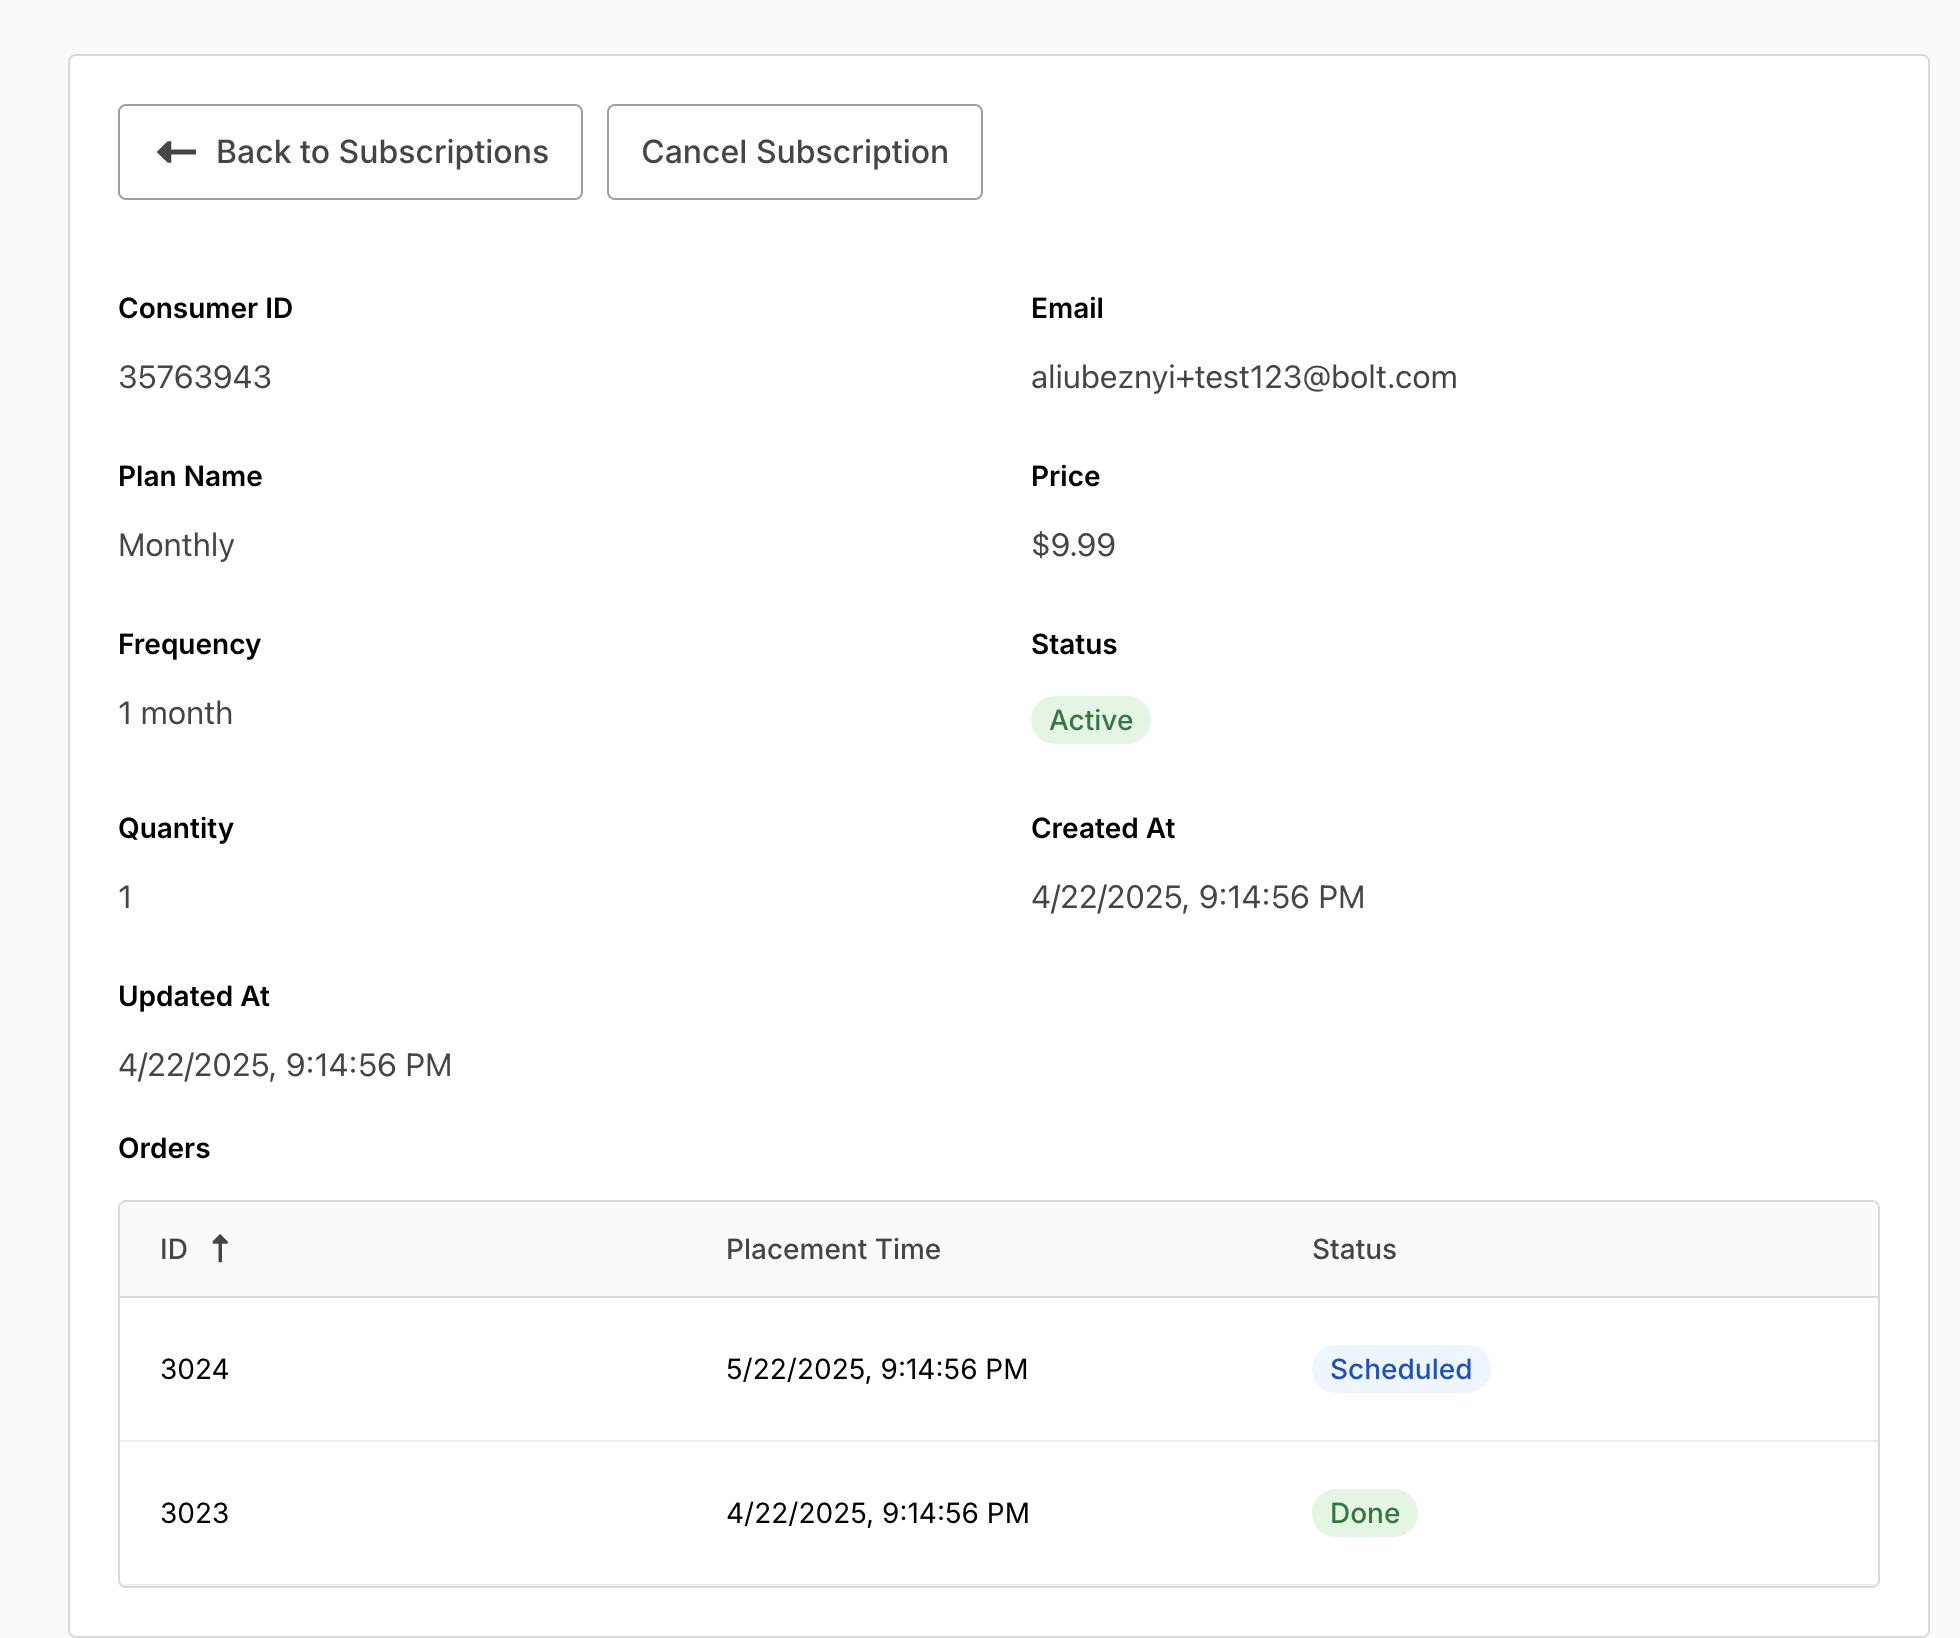
- Click a subscription to view details, orders, and the next scheduled charge.
 The subscription view shows all orders associated with the subscription, including the next scheduled charge.
Cancel a Subscription
- Open the subscription details.
- Click Cancel Subscription and confirm.
Review Shopper Notifications
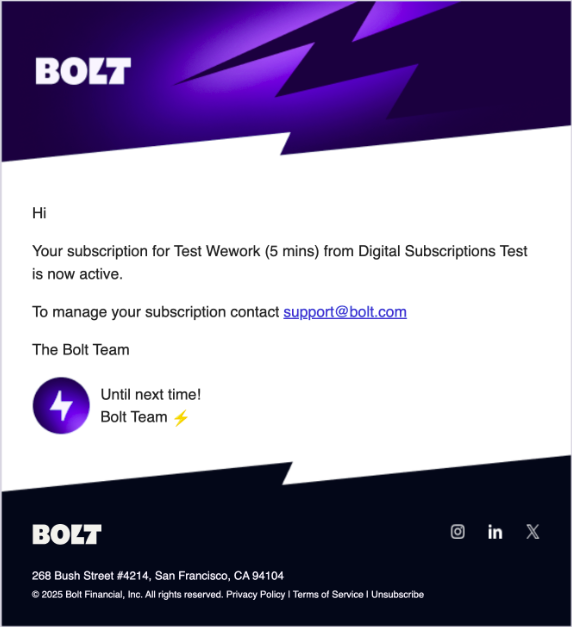
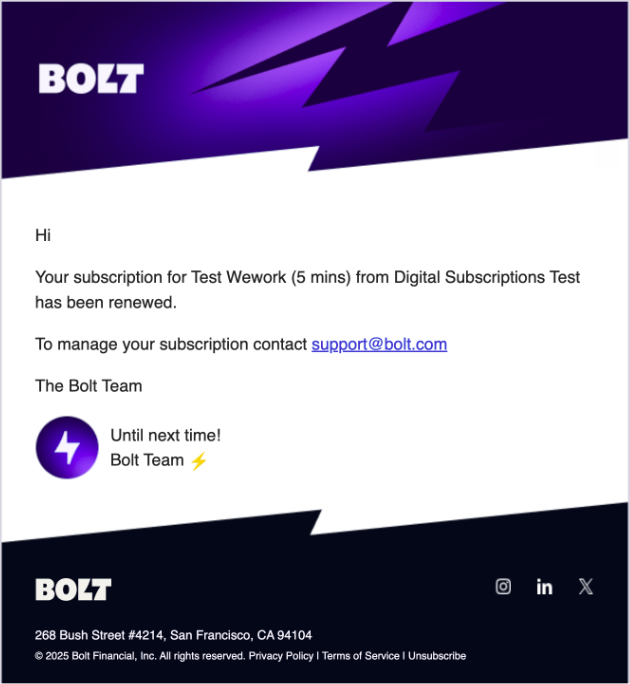
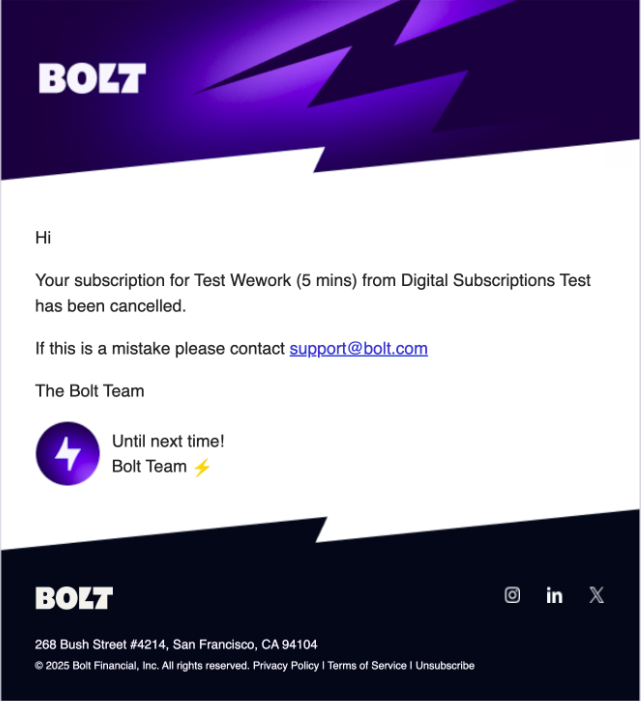
Bolt sends transactional emails for subscription events (created, renewed, canceled). See examples below.
Subscription Created Email
Subscription Renew Email
Subscription Cancel Email
 The instructions below apply only for digital goods and subscriptions:
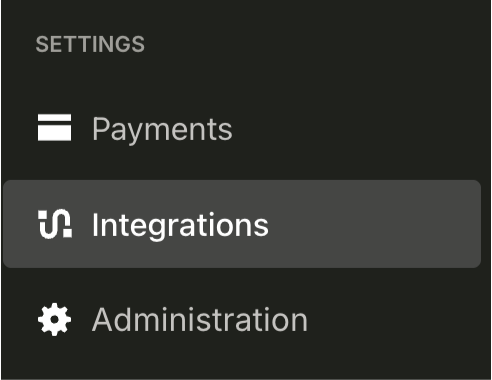
- In your Bolt Merchant account, go to Integrations.
- In Tax Compliance Provider, choose your provider and enter provider credentials:
- TaxJar: API Key
- Avalara: Account ID and License Key
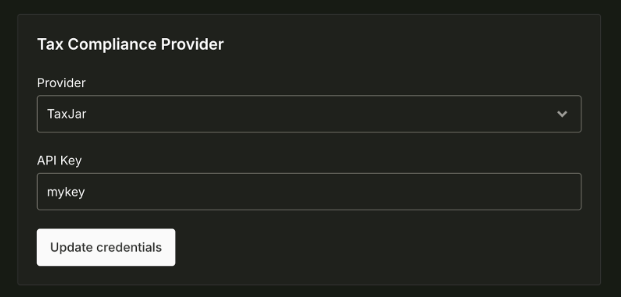
- Click Update credentials to save and activate tax calculations.
Ensure your account with the selected provider is active and properly configured before connecting.